
Topic Overview
------------------
2.) Prerequisites
3.) Install Assetto Corsa
4.) Install Content Manager
5.) Install Custom Shaders Patch
6.) Install Pure
7.) Install C13 AEGIS
8.) Install ReShade
9.) Install Shutoko Revival Project Track
10.) Install Custom Traffic
11.) Install AssettoServer
12.) Content Manager Configuration
13.) Install comfy map to enable teleportation
14.) Install Overtake Script
15.) Install Dashcam Speed Overlay
16.) Install MrAssettoapp
17.) Remove the yellow flag
18.) Configure Dashcam View
19.) Run Game
20.) Server Commands
21.) Backup and Restore all settings
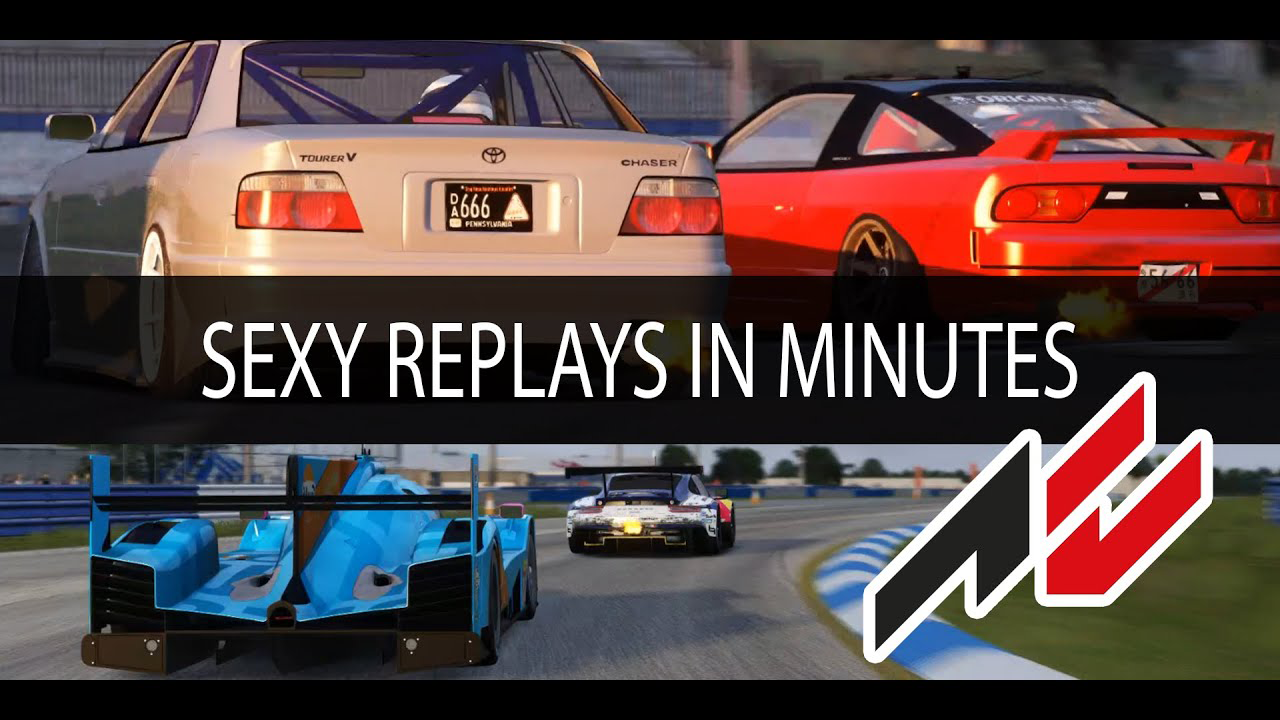
22.) How to record Assetto Corsa replays for later video editing
23.) Install NVIDIA ShadowPlay
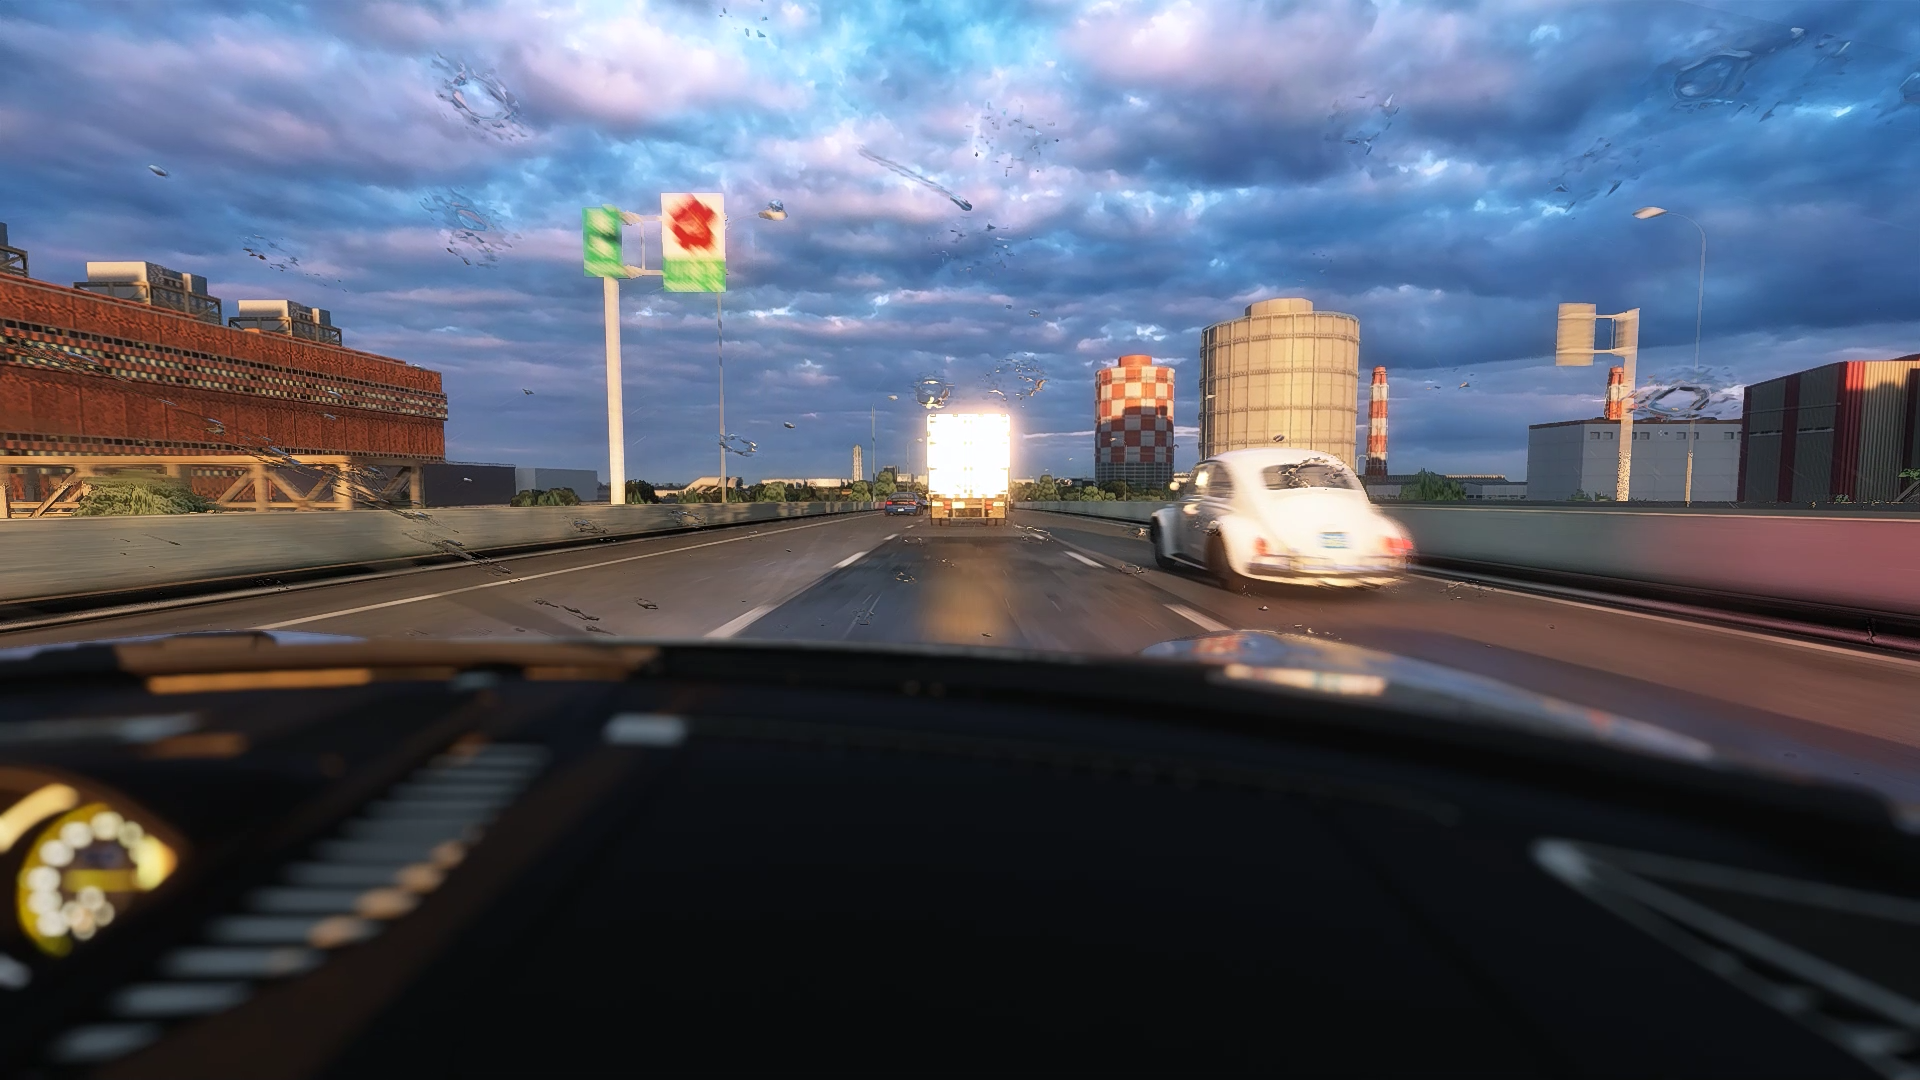
24.) Record the final video based on the Assetto Corsa replay file
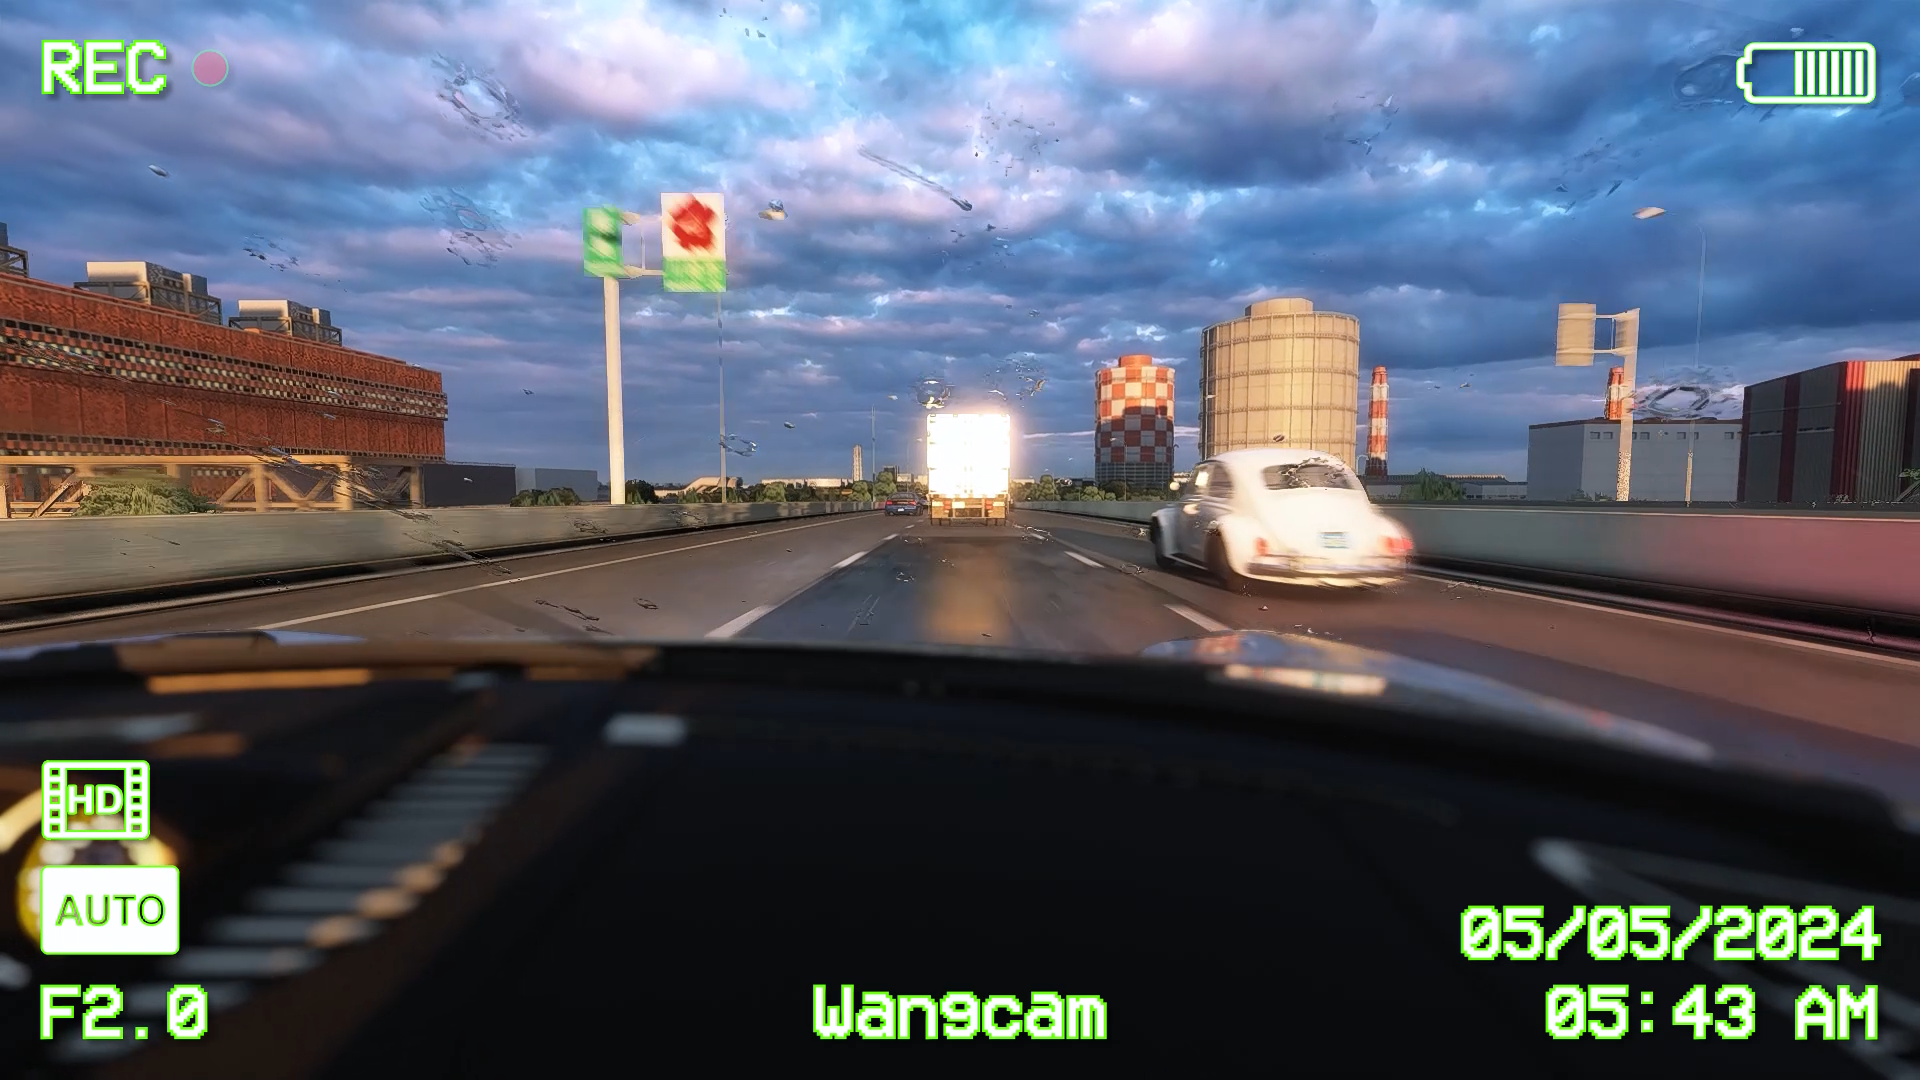
25.) Final Video Editing
26.) Credits
1.) Introduction
-------------------
This tutorial will show you step by step what is needed to create a dashcam modification for the sim racing game Assetto Corsa developed by Kunos Simulazioni. Because I researched many hours to get the pieces together, I will try to give away the collected info for free, in the hope that this guide maybe helpful to others.
Be warned that I am no professional modder. I am not even an amateur, only a guy trying to spread some knowledge to others. Feel free to criticize as you like and maybe take this tutorial and make it better.
The following are some sample videos I recorded during the last few days. Feel free to leave a comment and maybe a like:
- Bullrun on Highway 201:
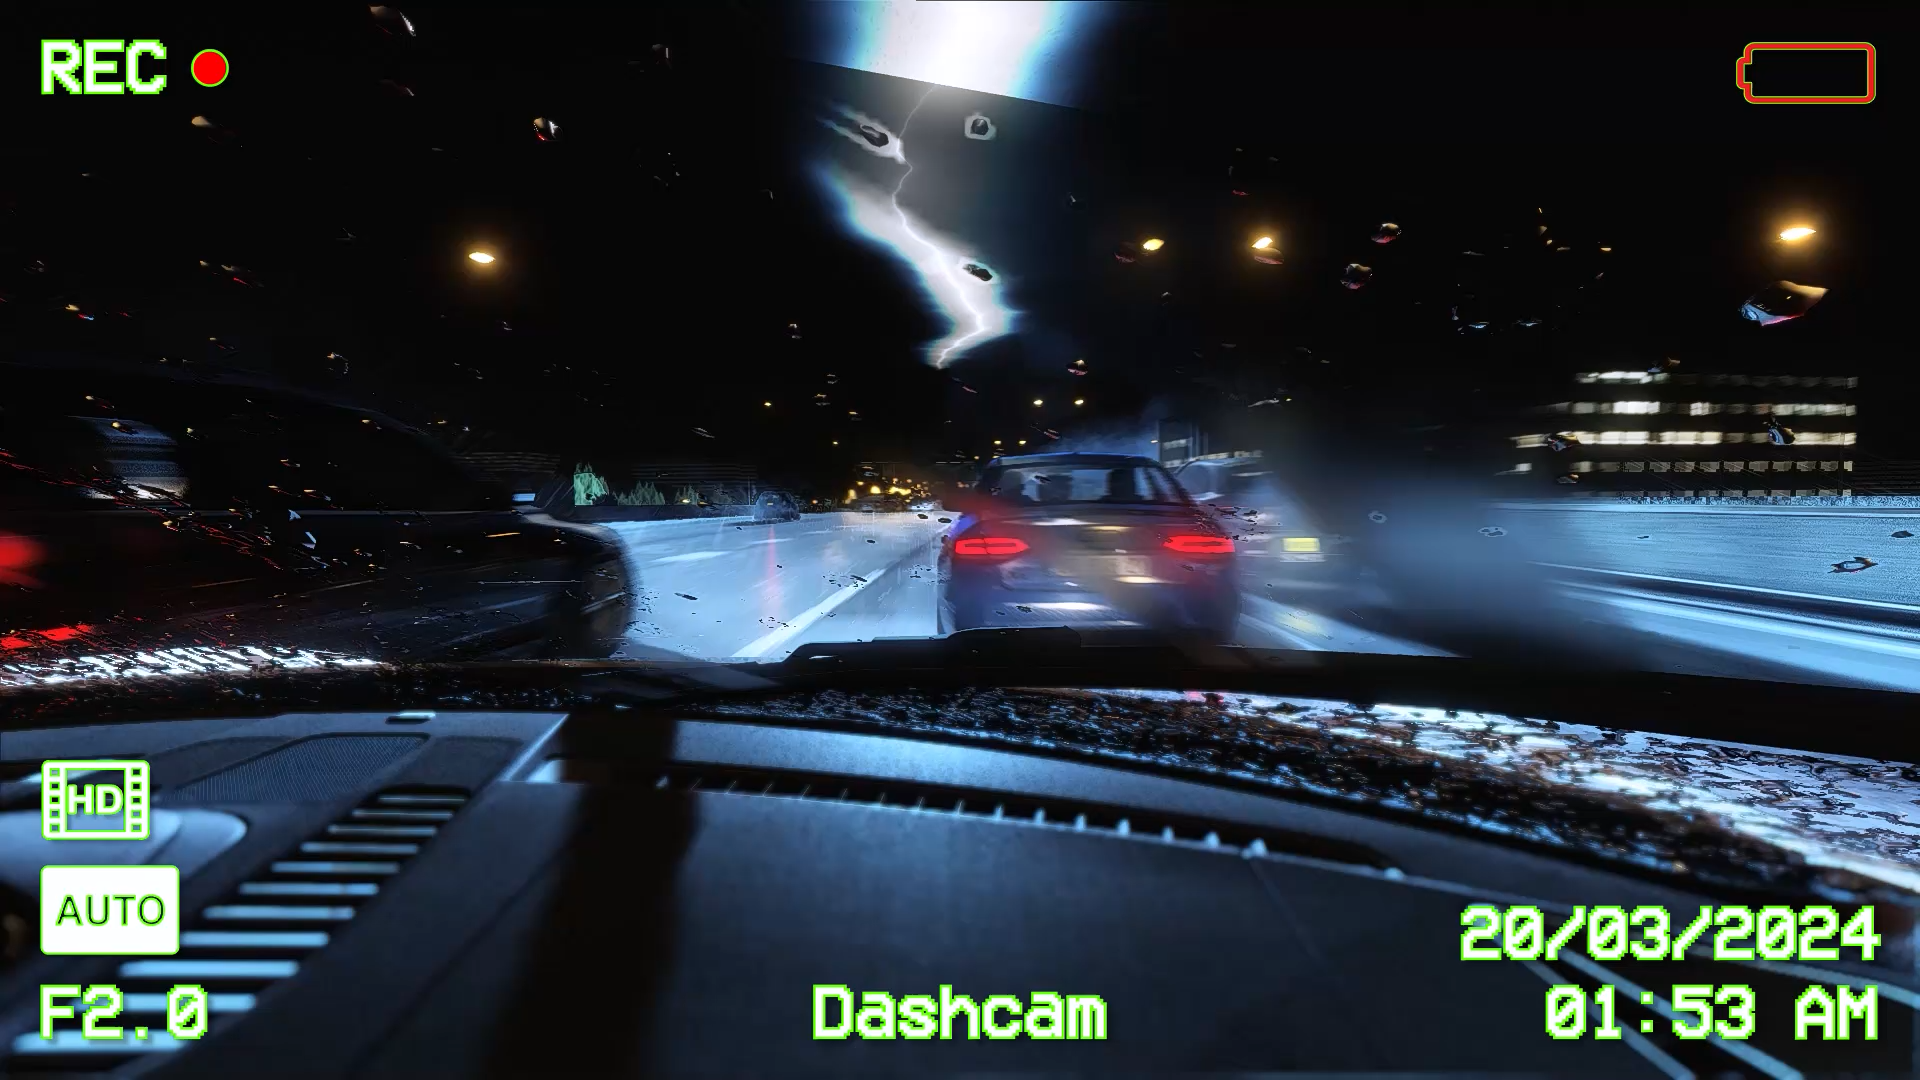
https://www.youtube.com/watch?v=b1YrkvcVCds - Horizonrun at 05:41:
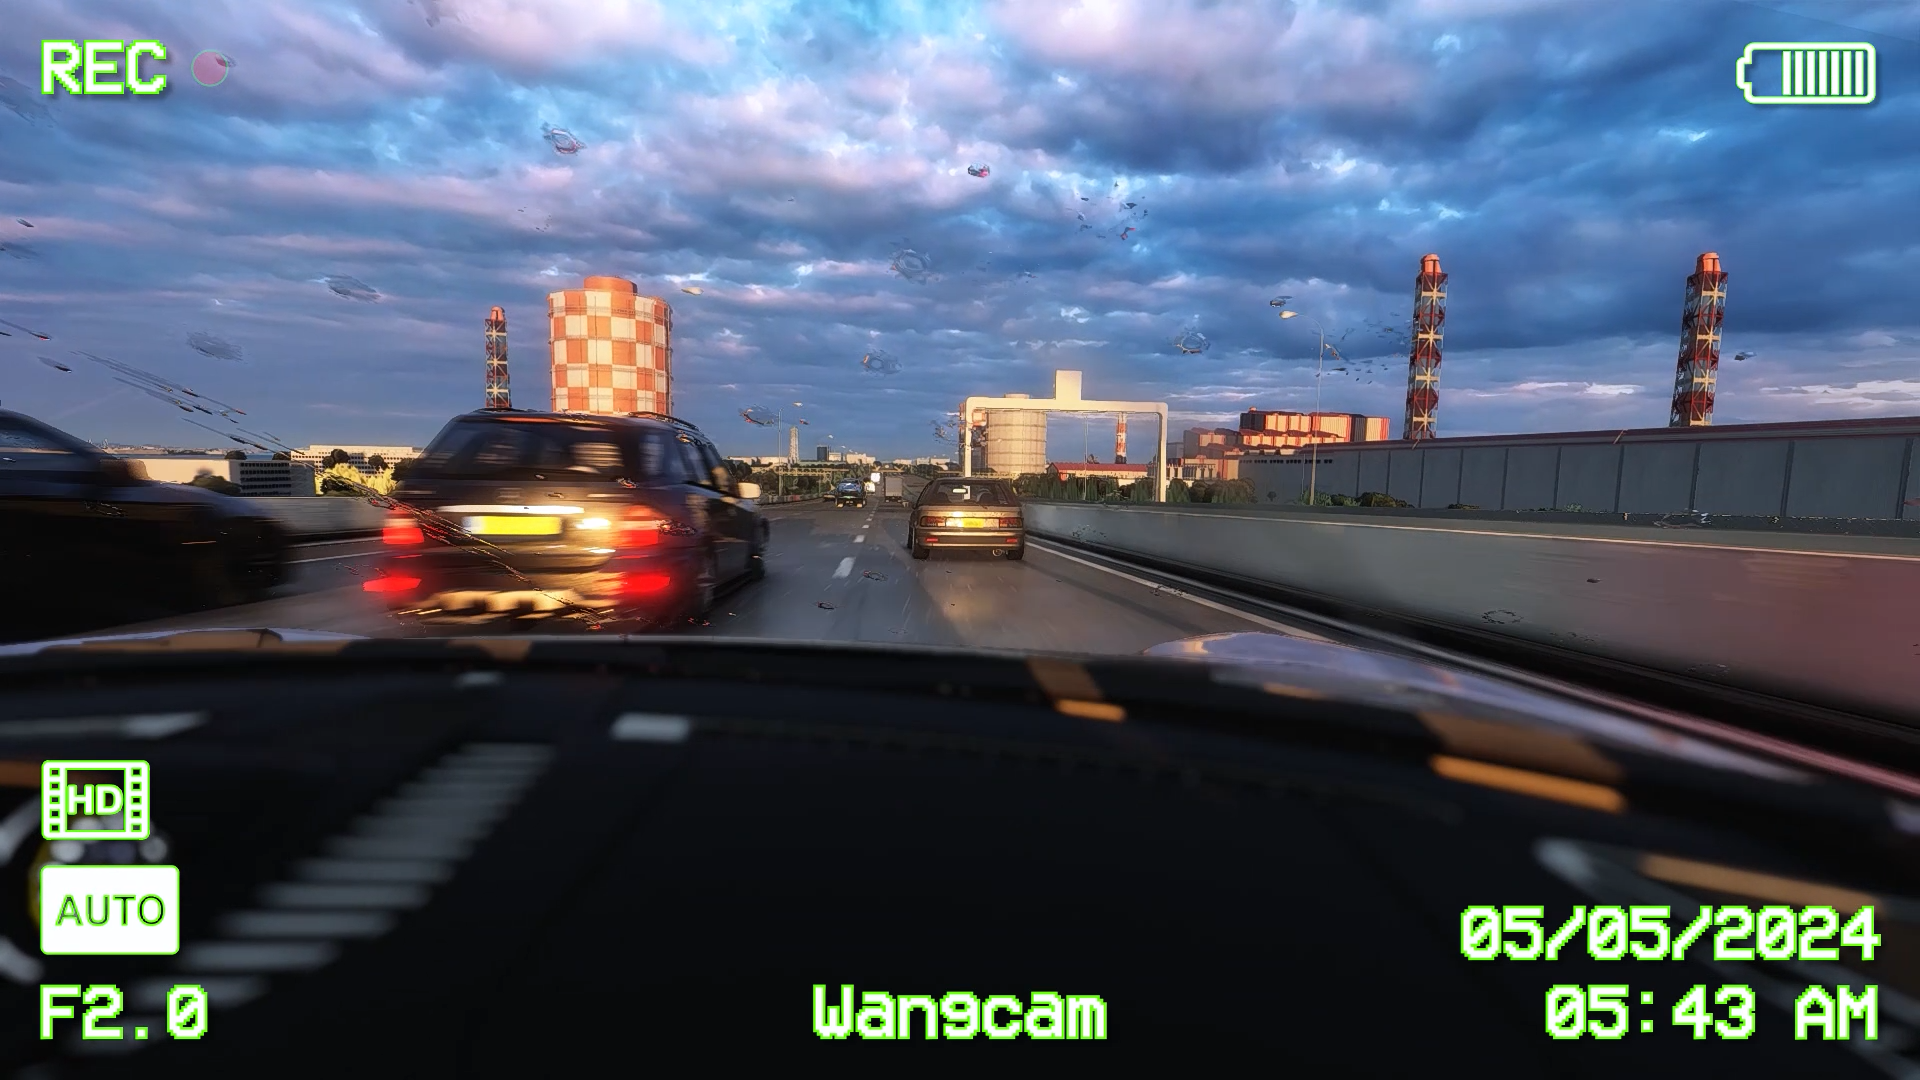
https://www.youtube.com/watch?v=apoXvpSJz-8 - Nightride on Bayside:
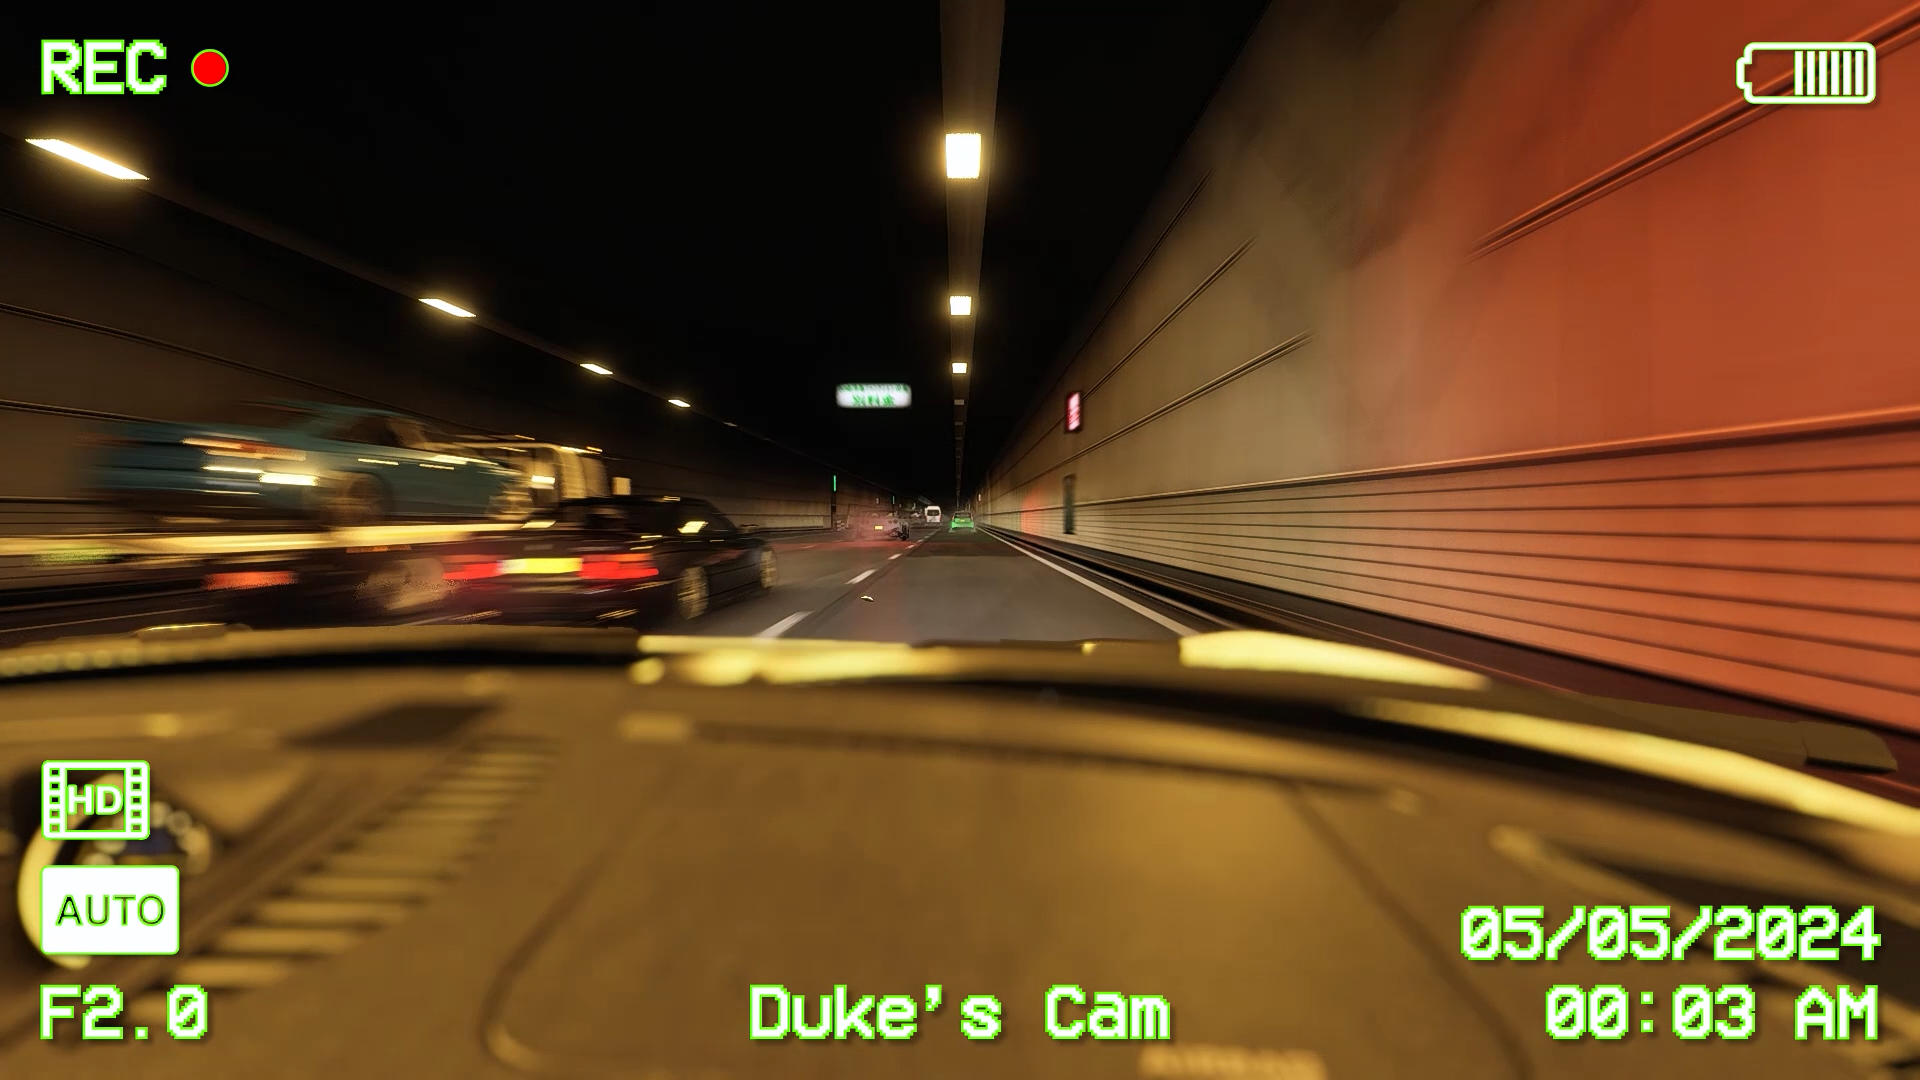
https://www.youtube.com/watch?v=tjeTWN1_C20 - Speed limits are only rough guidelines:

https://www.youtube.com/watch?v=nm6JSyMjLX8 - Road Rampage:
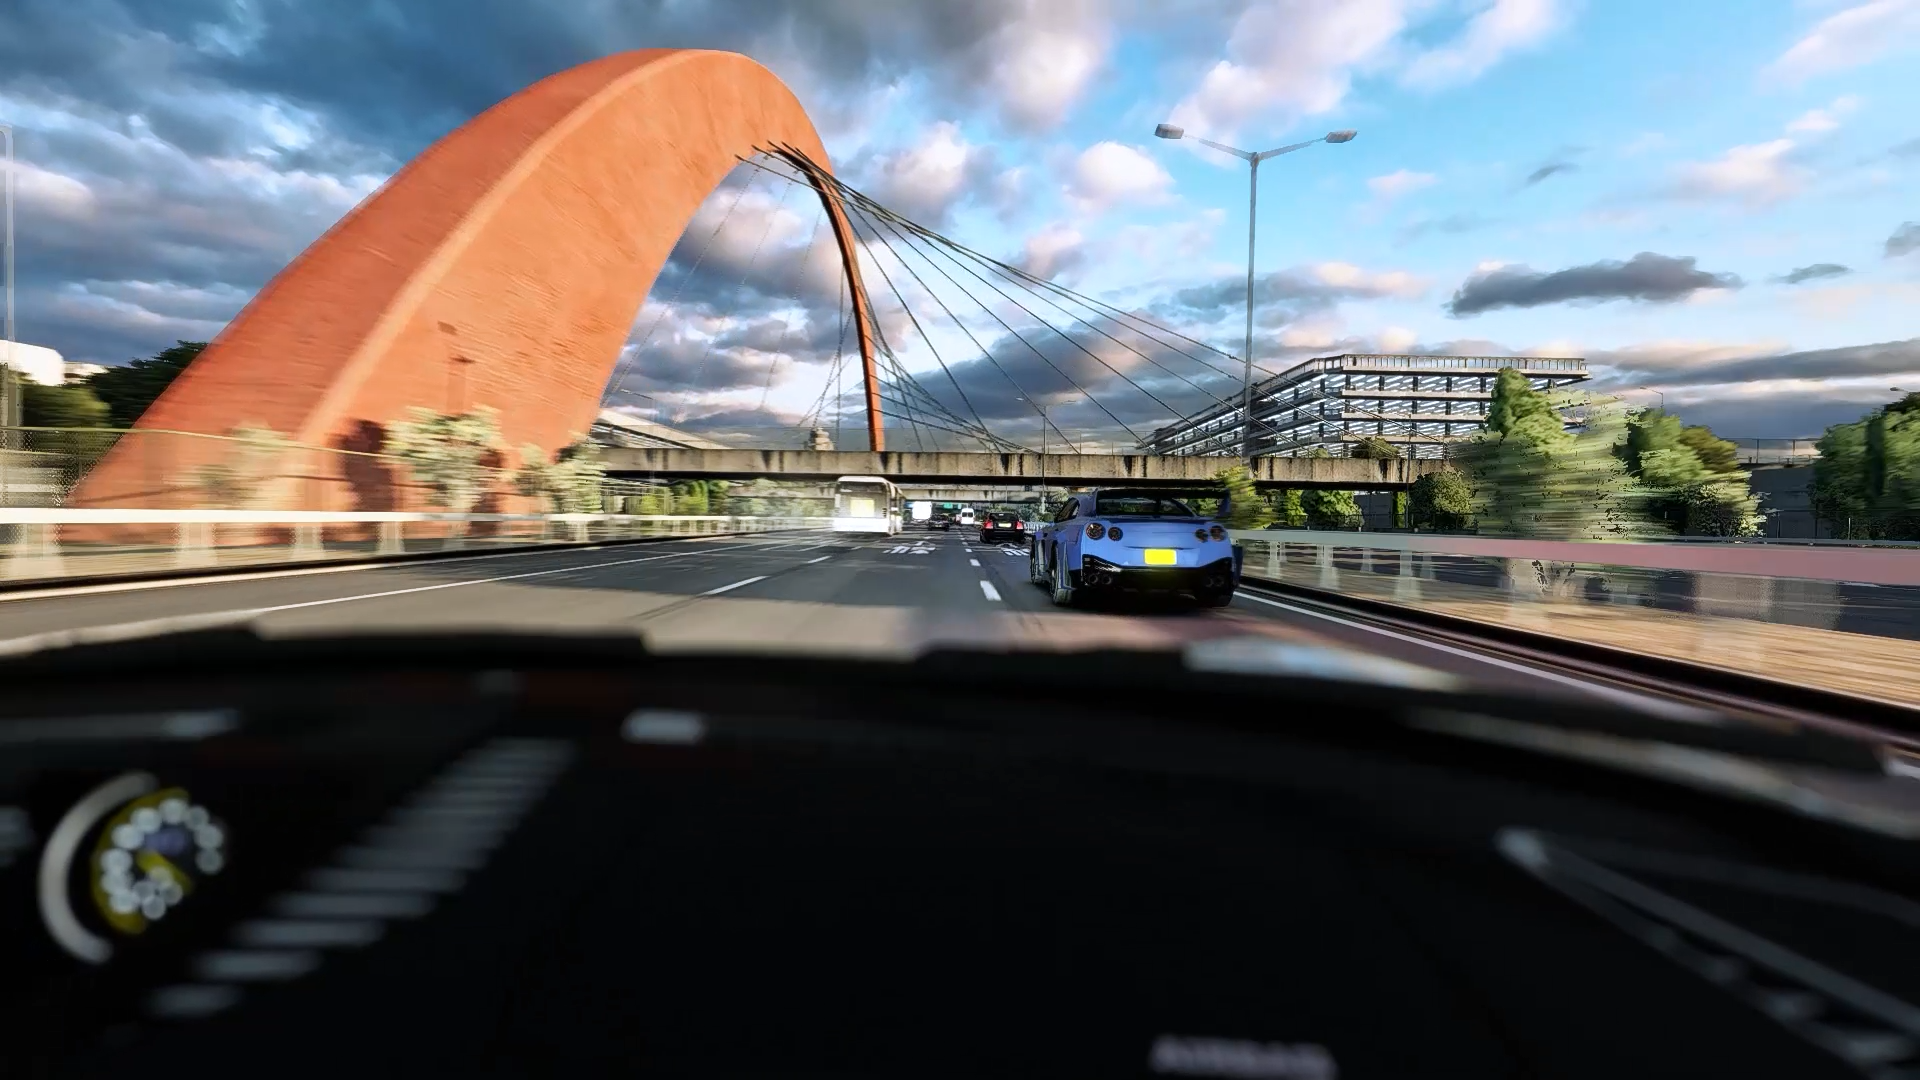
https://www.youtube.com/watch?v=DnCHNcjGr0o - Overwhelming Reflections:
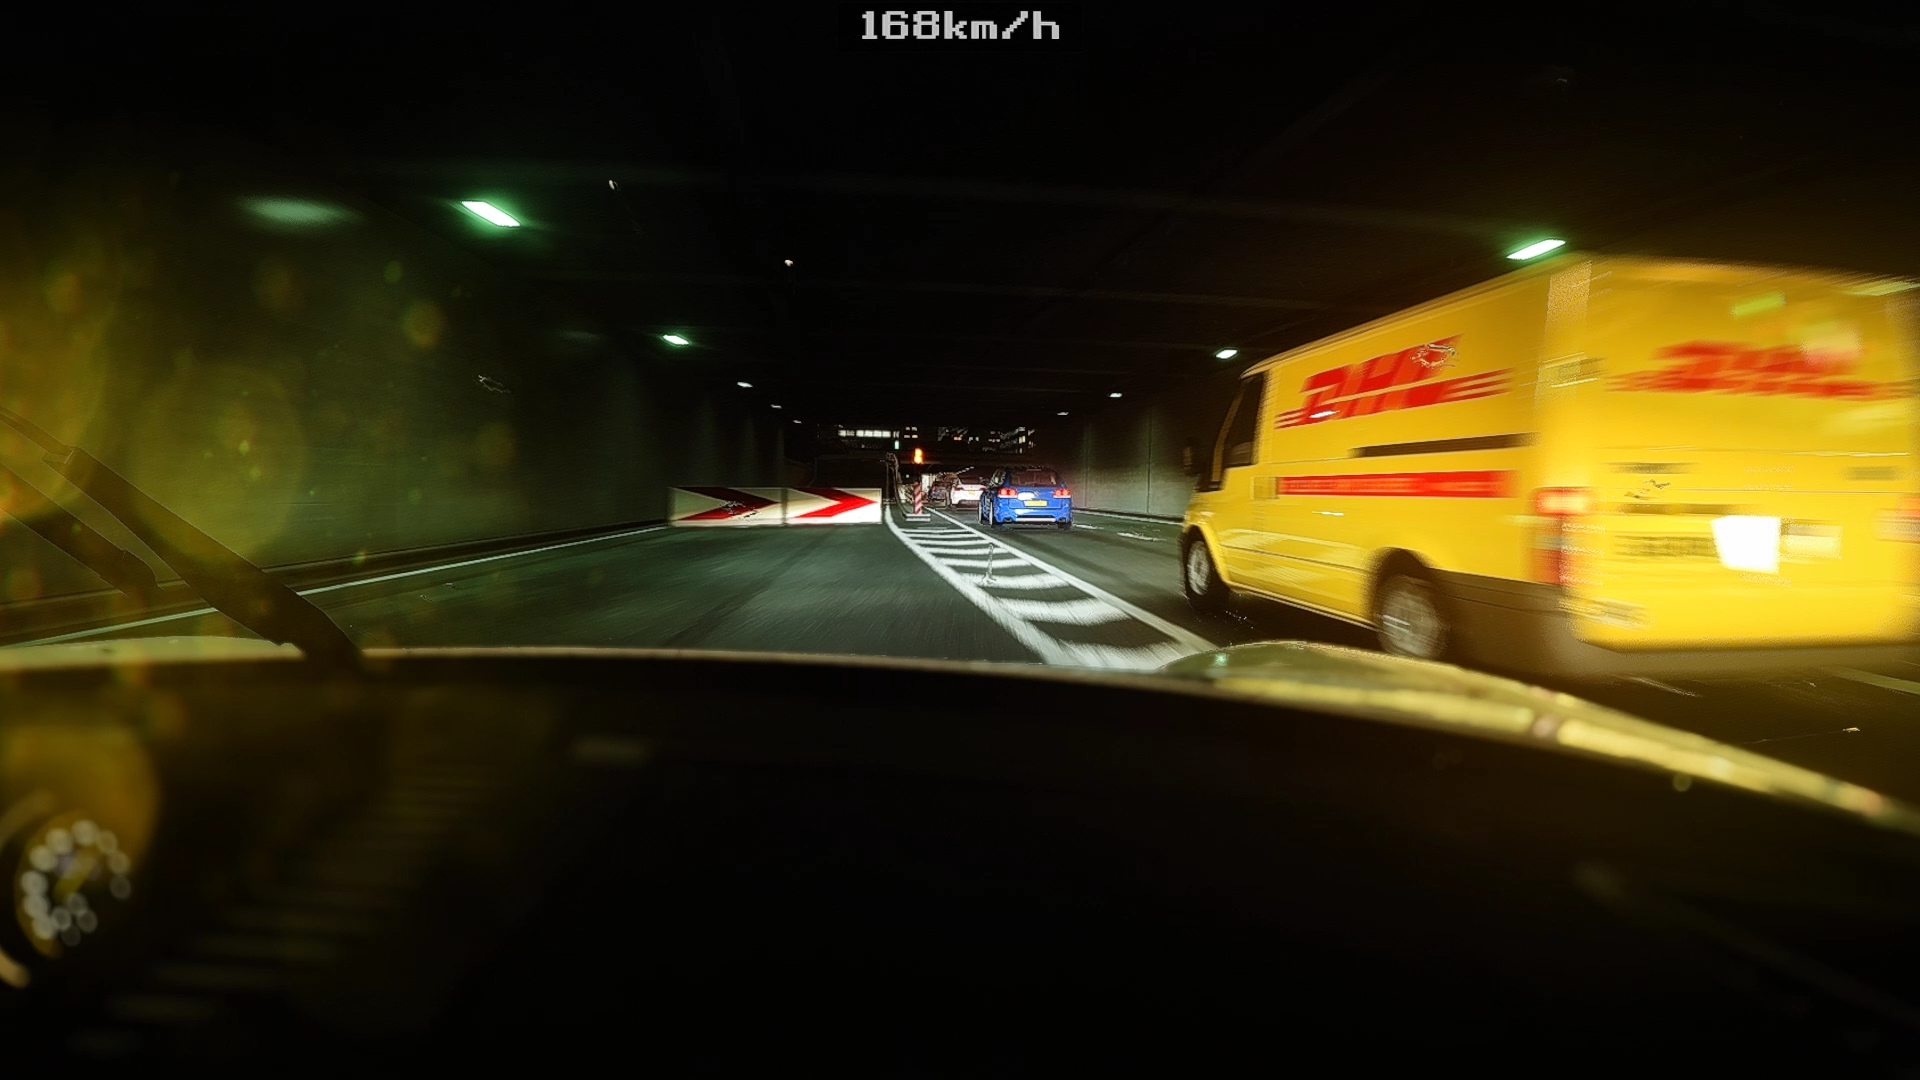
https://www.youtube.com/watch?v=os-h7nbjogk - Sunset Ride:
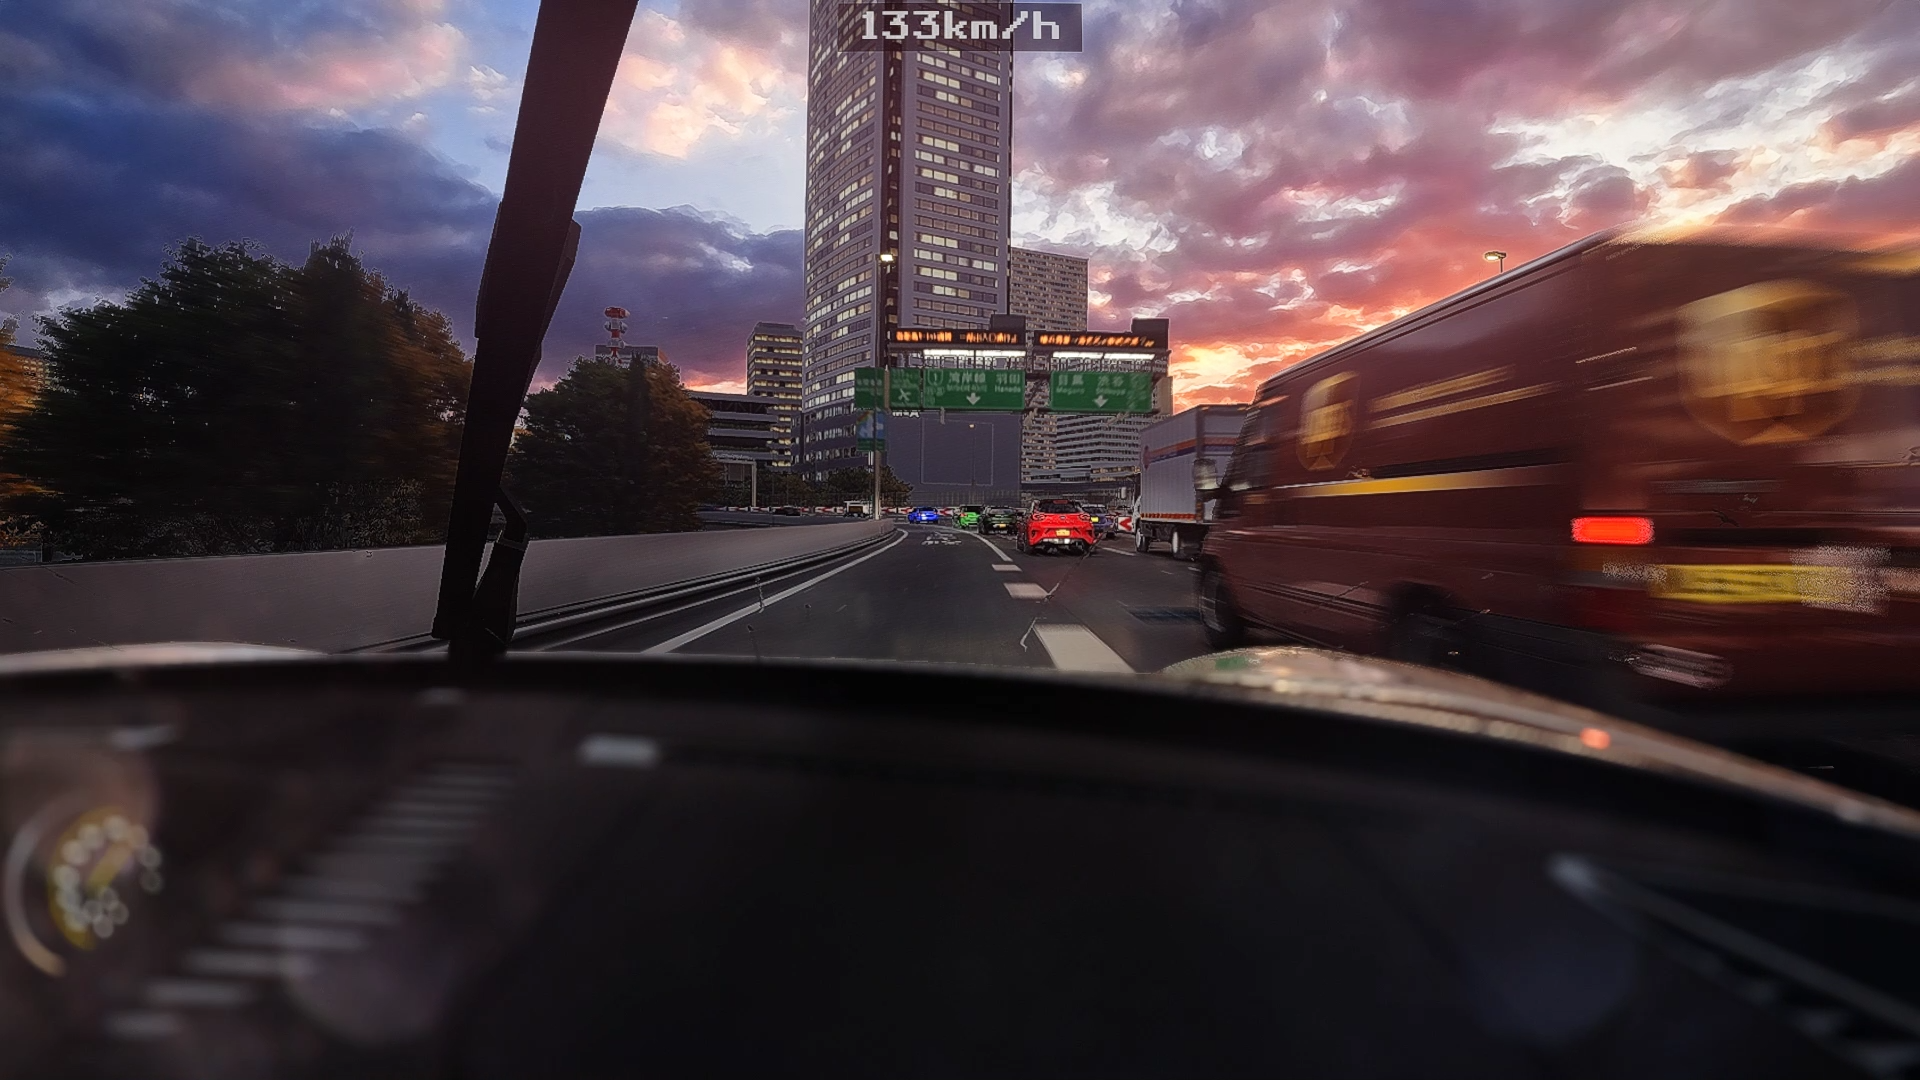
https://www.youtube.com/watch?v=Co9AZJNtSK8 - Follow Me:
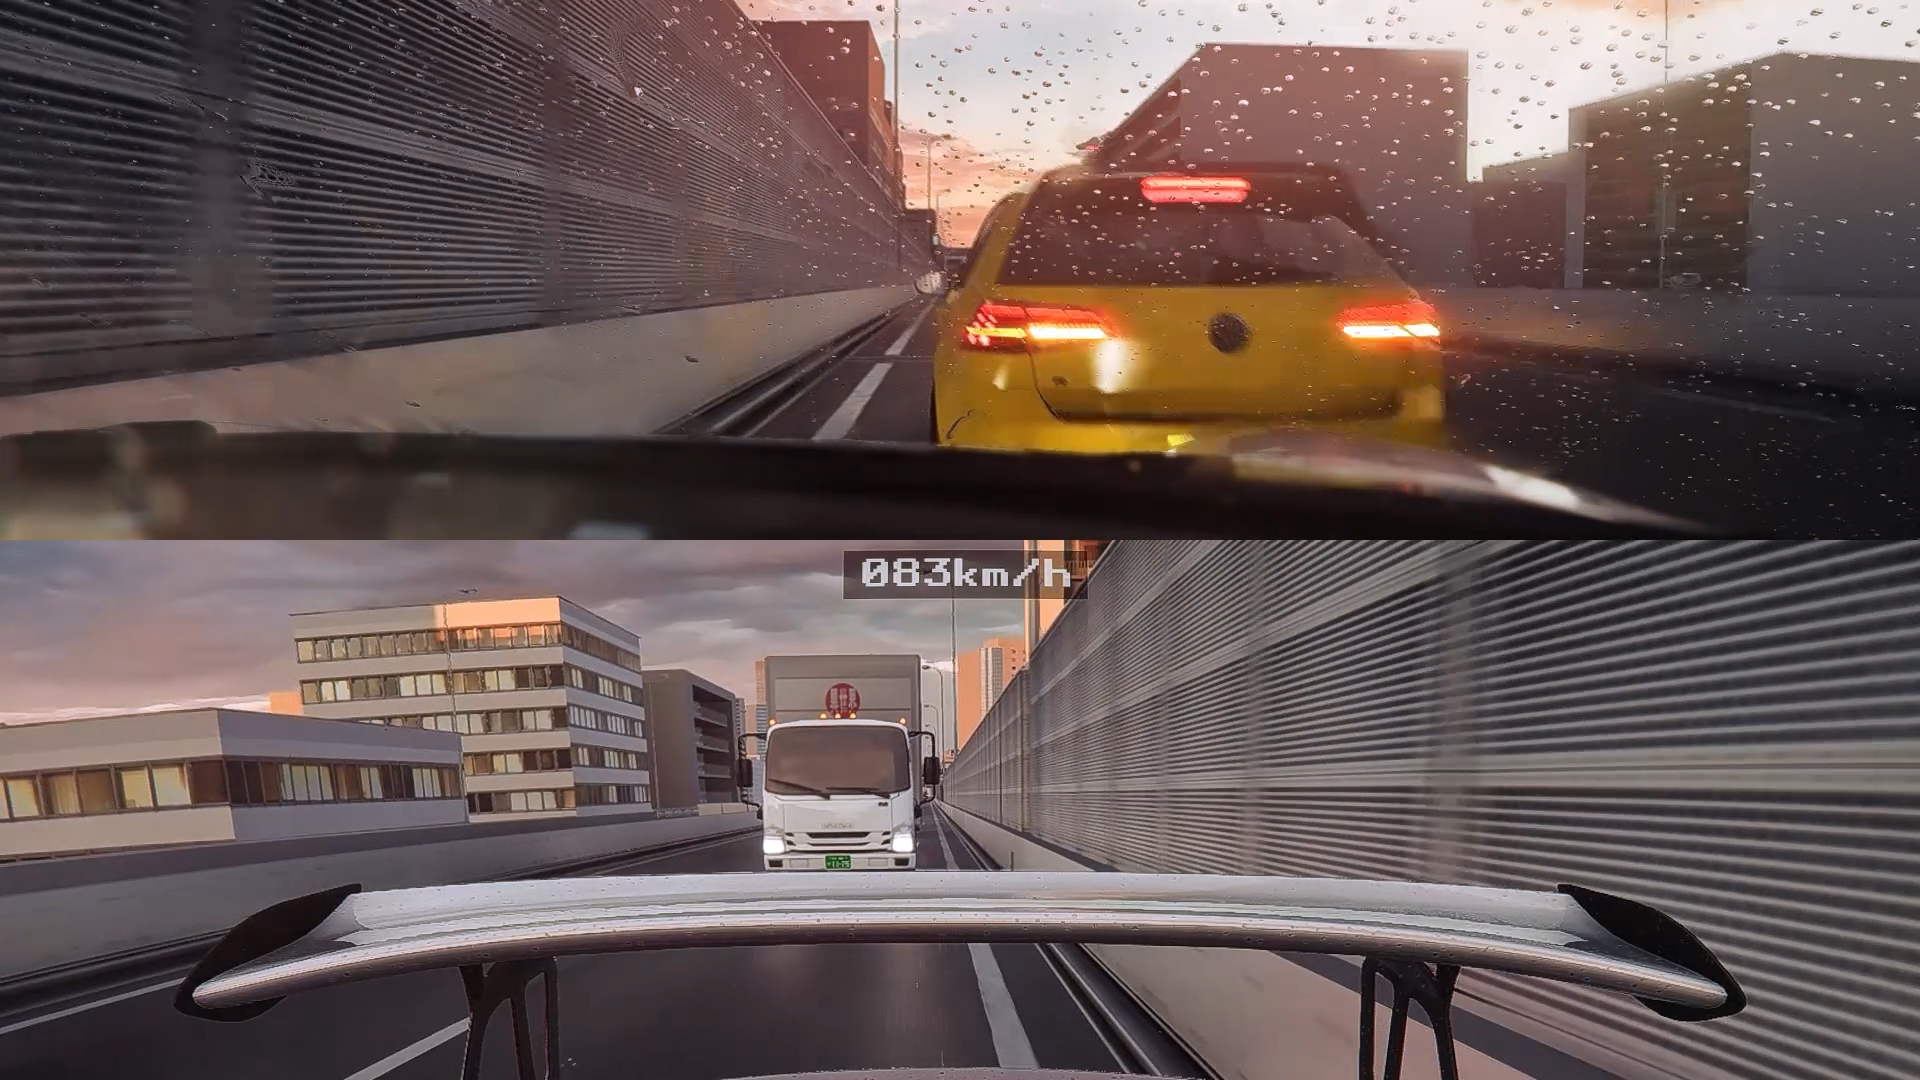
https://www.youtube.com/watch?v=WxdAW9WvINg - Flying High:
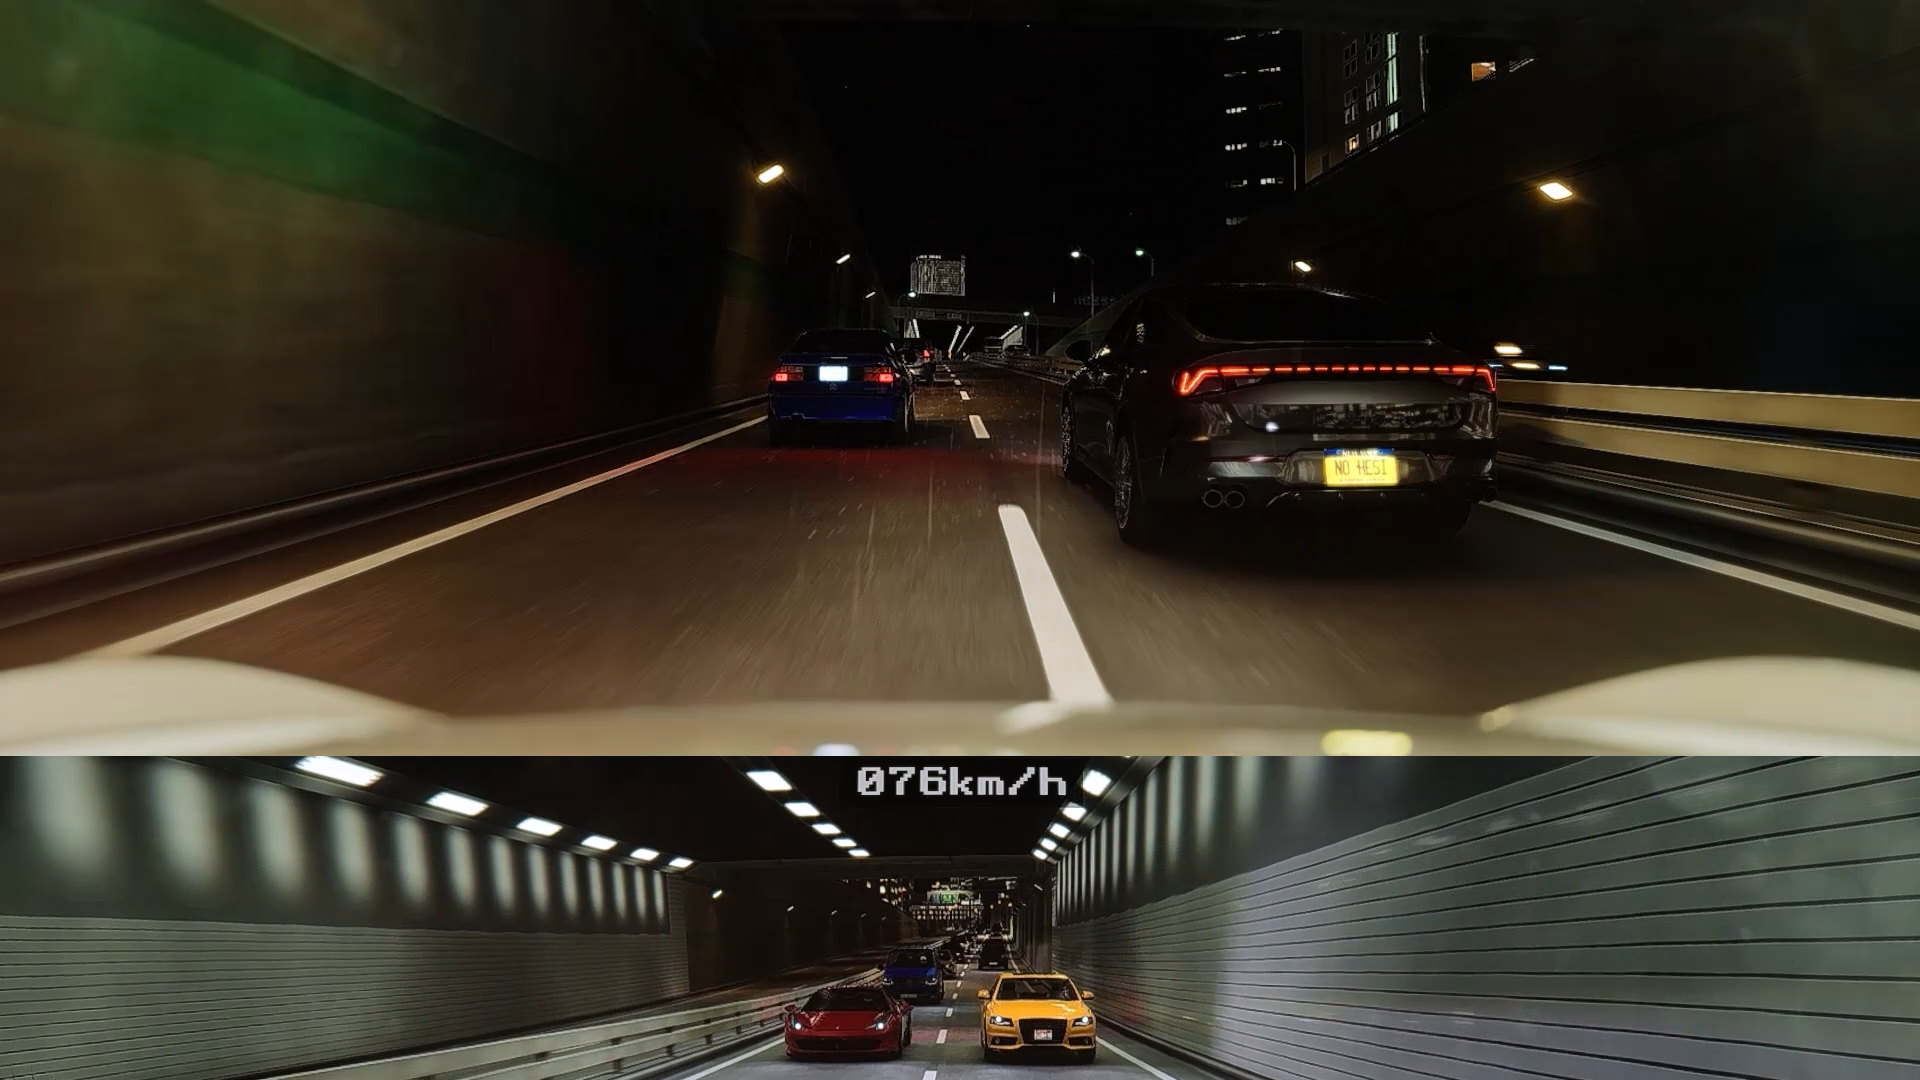
https://www.youtube.com/watch?v=77SMEF2ZEt4 - My Video Channel:

https://www.youtube.com/@KS-Productions1
I used Windows 10 x64 Version 22H2 as the base operating system for the modification. In theory every OS that is supported by Assetto Corsa should work with these types of mods.
2.) Prerequisites
--------------------
This tutorial uses the following software. It is recommended to download this software before starting the Assetto Corsa Dashcam Mod. As a user I like to have the possibility to follow tutorials on an offline machine. This way we can replicate all the changes without relying on packages that can only be downloaded via the internet. Therefore I supply some packages on Google Drive and my SourceForge site for better offline availability in the future.
- Assetto Corsa Dashcam Mod V1.1
https://sourceforge.net/projects/Assetto-Corsa-Dashcam-Mod - Windows 10 x64 Version 22H2
https://www.microsoft.com/en-us/software-download/windows10 - Assetto Corsa Steam or MULTi5-ElAmigos release
https://store.steampowered.com/app/244210/Assetto_Corsa - 7-Zip
https://www.7-zip.org - Visual C++ Redistributable 2015 (x86) for Content Manager
https://www.microsoft.com/en-us/download/details.aspx?id=48145 - DirectX Runtime June 2010 for Content Manager
https://www.microsoft.com/en-us/download/confirmation.aspx?id=8109 - Content Manager
https://acstuff.ru/app/latest.zip - Content Manager Plugins
https://drive.google.com/file/d/1fl-uA_lqMyi4Elw4W415L-5IFboVJ7TZ/view?usp=drive_link - Custom Shaders Patch v0.2.2 free version (realistic rain is disabled in this version)
https://acstuff.ru/patch/?get=0.2.2 - Custom Shaders Patch v0.2.3 Preview (realistic rain is included in this version)
https://www.patreon.com/x4fab - Custom Shaders Patch Extensions
https://drive.google.com/file/d/1Q8NQ8bbzGkM5BOaVw5pYdsudZ2ErEbf-/view?usp=drive_link - Pure v0.254
https://www.patreon.com/peterboese - C13 AEGIS v1.65 or v1.83
https://www.patreon.com/posts/c13-aegis-1-65-97550677 - ReShade v6.1.1 standard
https://reshade.me/downloads/ReShade_Setup_6.1.1.exe - ReShade v6.1.1 with full add-on support
https://reshade.me/downloads/ReShade_Setup_6.1.1_Addon.exe - ReShade shaders for offline install
https://drive.google.com/file/d/1jWOu6RTDNyLLKGzEVzsaW1DcGi7v6C2i/view?usp=drive_link - Track Shutoko Revival Project v0.9.2 PTB2
https://modsfire.com/628OIl30gmTzOp9
Attention: Only download the file named "SRP 0.9.2 PTB2.7z" from ModsFire! They may show you other additional downloads you do not need at all and that may harm your computer. Sadly this public testing build is not present on the official servers anymore. - C13 AEGIS Modern SRP Skin
https://www.patreon.com/posts/c13-aegis-modern-84472701 - Custom Traffic Cars
https://drive.google.com/file/d/1d8Q5gMj4M2mV6V-j9SvgPJRTzvb8IhXQ/view?usp=drive_link - AssettoServer v0.0.54
https://github.com/compujuckel/AssettoServer/releases/download/v0.0.54/assetto-server-win-x64.zip - comfy map v0.008 (register a free account to download)
https://www.overtake.gg/downloads/comfy-map.52623 - MrAssettoapp
https://www.patreon.com/posts/aii-so-i-made-103897879 - GeForce Experience v3.21.0.36
https://us.download.nvidia.com/GFE/GFEClient/3.21.0.36/GeForce_Experience_v3.21.0.36.exe - GeForce Experience v3.21.0.36 patched app.js
https://raw.githubusercontent.com/AntiGuide/BaiGfe/Fix_3.21.0.36/app.js
3.) Install Assetto Corsa
----------------------------

There are 2 options for installing Assetto Corsa. You can buy the game on Steam or, if you want to test the modification without corrupting your productive gaming system, you can download a release called "Assetto Corsa MULTi5-ElAmigos". I myself own a legal copy of the Assetto Corsa Ultimate Edition, because it is worth every penny, but for testing mods I prefer to use an offline system without the risk to get my Steam account banned. Therefore I used the before mentioned release for my tests.
Warning!
Be aware that we have to use a ReShade Depth of Field filter to make the dashcam mod look real later on. Because the retail ReShade will not allow the usage of the DoF filter in game to stop cheating, we have to use an unlocked and patched version of ReShade. This version may get you banned if used on your productive gaming system. I will show you an alternative solution in the ReShade section later on.
If you use a Steam installation you can skip this topic and continue with the next one. To install the Assetto Corsa ElAmigos release do the following:
- download "Assetto Corsa MULTi5-ElAmigos" release from a trusted source and unpack the ISO image
- in Windows Explorer right click on "Assetto Corsa.iso" > Mount
- run "CDROM:\setup.exe" from mounted ISO file > English > OK > Next > "C:\AssettoCorsa" > 3xNext > UserName: Player > Next > Install > Next > check all Visual C++ redistributables > Finish
- in Windows Explorer right click on the mounted ISO drive letter > Eject
- open Steam and go to your game library
- right click on "Assetto Corsa" > Properties... > Installed Files > Browse...
- Windows Explorer will open the target directory for Assetto Corsa
4.) Install Content Manager
-------------------------------
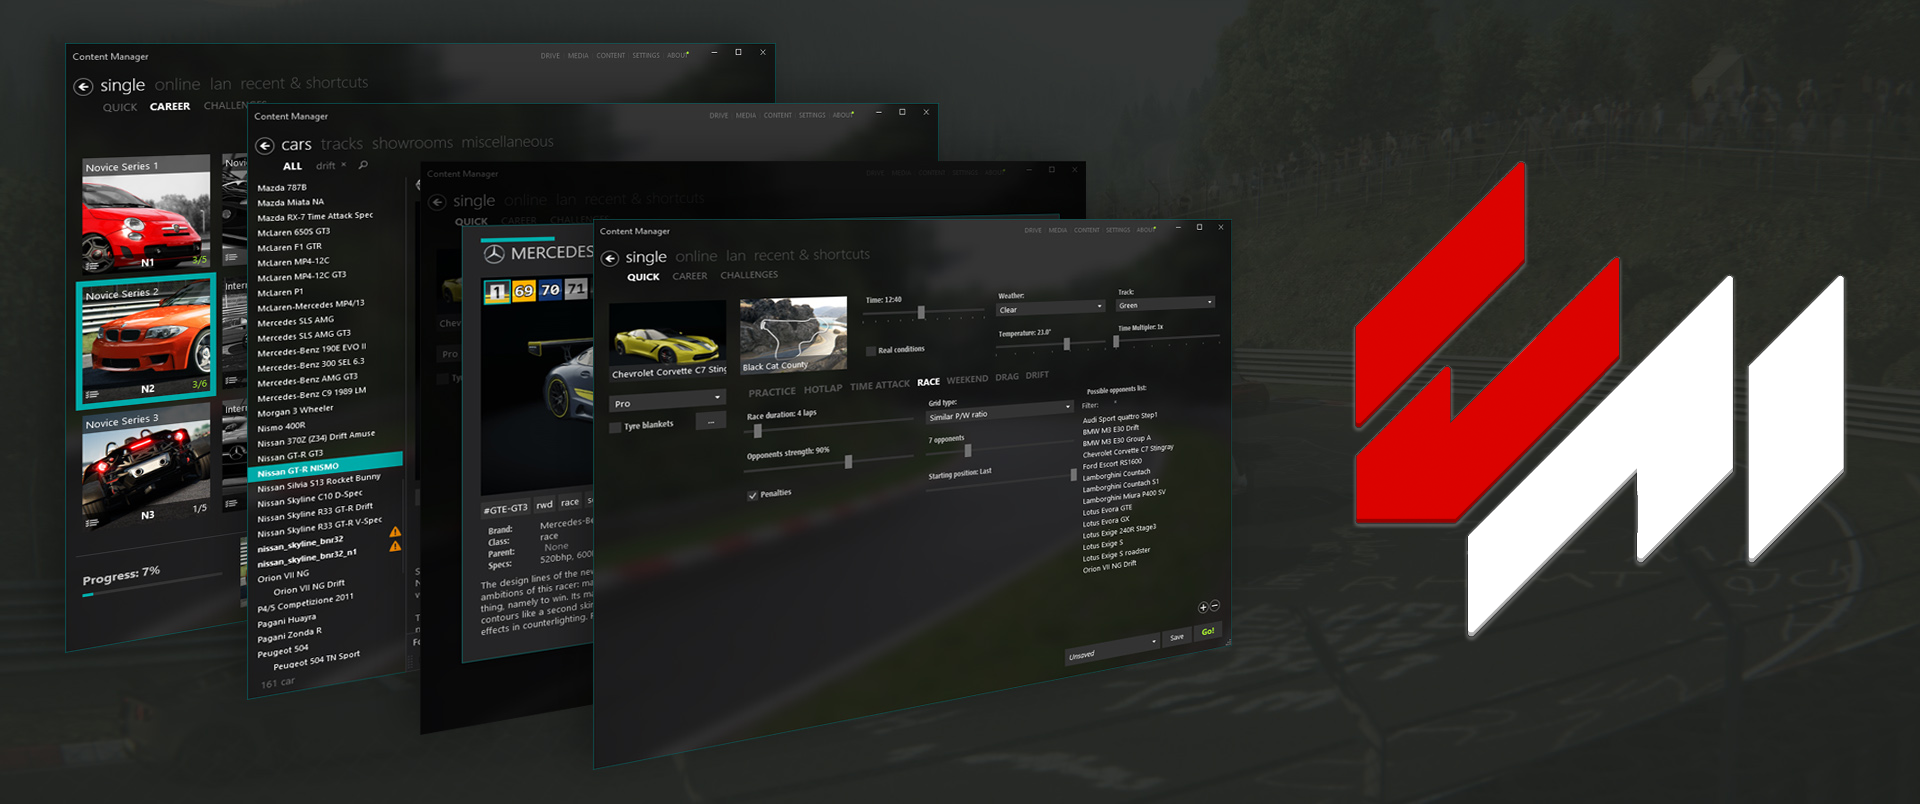
Content Manager is a custom launcher and content management app for Assetto Corsa. The basic (lite) version is free and contains all features we need for the mod.
- download and install 7-Zip from the URL
https://www.7-zip.org - download and install Visual C++ Redistributable 2015 (x86) from the URL
https://www.microsoft.com/en-us/download/details.aspx?id=48145 - download and install DirectX Runtime June 2010 from the URL
https://www.microsoft.com/en-us/download/confirmation.aspx?id=8109 - download Content Manager and name the zip file "Content_Manager_latest.zip"
https://acstuff.ru/app/latest.zip - copy "Content_Manager_latest.zip" to Desktop > right click it > 7-Zip > Extract Here
- start "C:\Users\[UserName]\Desktop\Content Manager.exe" and enter the following values:
- Assetto Corsa root folder: "C:\AssettoCorsa"
- Your Steam ID for online: None
- What's your name? Player
- Add a shortcut to Start Menu? > choose "Create (recommended)"
- install 7-Zip plugin if this option is available
- close Content Manager
- download Content Manager Plugins from the URL
https://drive.google.com/file/d/1fl-uA_lqMyi4Elw4W415L-5IFboVJ7TZ/view?usp=drive_link - extract the archive "ContentManagerPlugins.7z" and copy all folders to "C:\Users\[UserName]\AppData\Local\AcTools Content Manager\Plugins" Overwrite the directory "NativeLibs". You can also download the plugins directly later on if you have an online connection.
- download Assetto Corsa Dashcam Mod V1.1
https://sourceforge.net/projects/Assetto-Corsa-Dashcam-Mod - create the directory structure "C:\Users\[UserName]\Documents\Assetto Corsa\cfg\controllers\savedsetups"
- extract the archive "AssettoCorsaDashcamMod_V1.1.7z" and copy the file "XBOX360 Controller.ini" to the folder "savedsetups"
- do not delete the extracted folder "AssettoCorsaDashcamMod_V1.1", because we will need it later on
5.) Install Custom Shaders Patch
------------------------------------
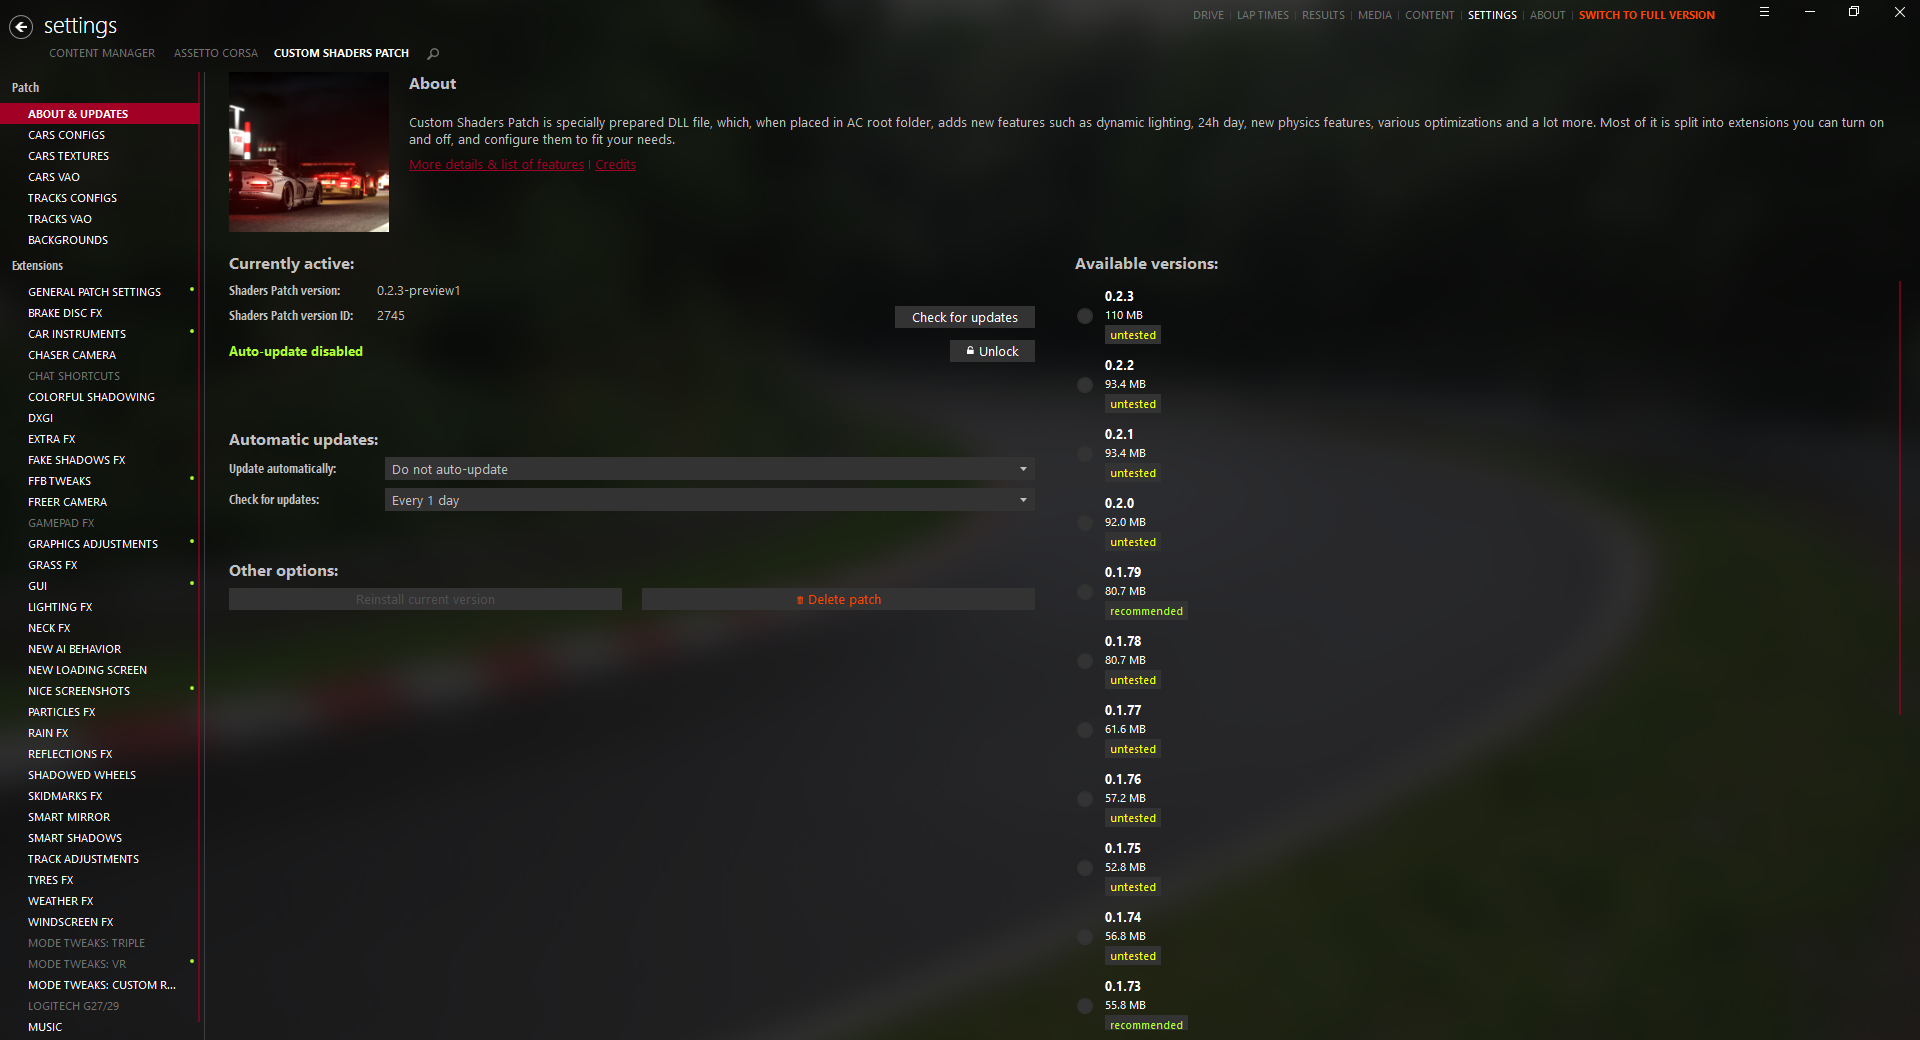
Custom Shaders Patch is an extension for Assetto Corsa, which adds dynamic lights, weather effects, car extensions and many more features. It is a must have for every Assetto Corsa addict. I used the preview version 0.2.3 for this tutorial, but a newer version should also work. Pay attention that realistic rain is only included in the paid preview version of CSP. I fully recommend the paid preview version, because the rain really gives that extra touch of reality when it comes to thunder and lightning. If you can live without rain you can also get the free version.
- download Custom Shaders Patch v0.2.2 free version (realistic rain is disabled in this version) and
name the zip file "Custom_Shaders_Patch_lights-patch-v0.2.2.zip"
https://acstuff.ru/patch/?get=0.2.2 - download Custom Shaders Patch v0.2.3 Preview (realistic rain is included in this version) and
name the zip file "Custom_Shaders_Patch_lights-patch-v0.2.3-preview1.zip"
https://www.patreon.com/x4fab - extract the archive "Custom_Shaders_Patch_lights-patch-v0.2.2.zip" or "Custom_Shaders_Patch_lights-patch-v0.2.3-preview1.zip" and copy the extracted content to "C:\AssettoCorsa"
- after this the directory "extension" and the file "dwrite.dll" should be located inside the folder "C:\AssettoCorsa"
- download Custom Shaders Patch Extensions
https://drive.google.com/file/d/1Q8NQ8bbzGkM5BOaVw5pYdsudZ2ErEbf-/view?usp=drive_link - extract the archive "CustomShadersPatchExtensions.7z" and copy the extracted "extension" directory to "C:\AssettoCorsa"
- create the directory "C:\Users\[UserName]\AppData\Local\AcTools Content Manager\Presets\Custom Shaders Patch Presets"
- copy the file "KSCustomShadersPatchPreset.ini" from the already extracted "AssettoCorsaDashcamMod_V1.1.7z" archive to "C:\Users\[UserName]\AppData\Local\AcTools Content Manager\Presets\Custom Shaders Patch Presets"
- do not delete the extracted folder "AssettoCorsaDashcamMod_V1.1", because we will need it later on
6.) Install Pure
------------------
Pure is a very advanced weather simulation system for Assetto Corsa. It contains a weather planner app and configuration. You can simulate nearly any weather condition with this software and every version gets better. You have to also pay 1$ for Pure, which is absolutely worth the price!
- download Pure v0.254 and name the zip file "Pure_v0.254_Highres.zip"
https://www.patreon.com/peterboese - extract the archive "Pure_v0.254_Highres.zip"
- from the extracted archive run "install_pure.bat" as Administrator > choose "C:\AssettoCorsa" as your install directory > OK
- press any key to close the console window
- the installation may take some time, because the skydomes are very large
- copy the files "KSPurePresetDashcam.ini" and "KSPurePresetDashcamExtremeLighning.ini" from the already extracted "AssettoCorsaDashcamMod_V1.1.7z" archive to "C:\AssettoCorsa\extension\config-ext\Pure"
- do not delete the extracted folder "AssettoCorsaDashcamMod_V1.1", because we will need it later on
7.) Install C13 AEGIS
------------------------
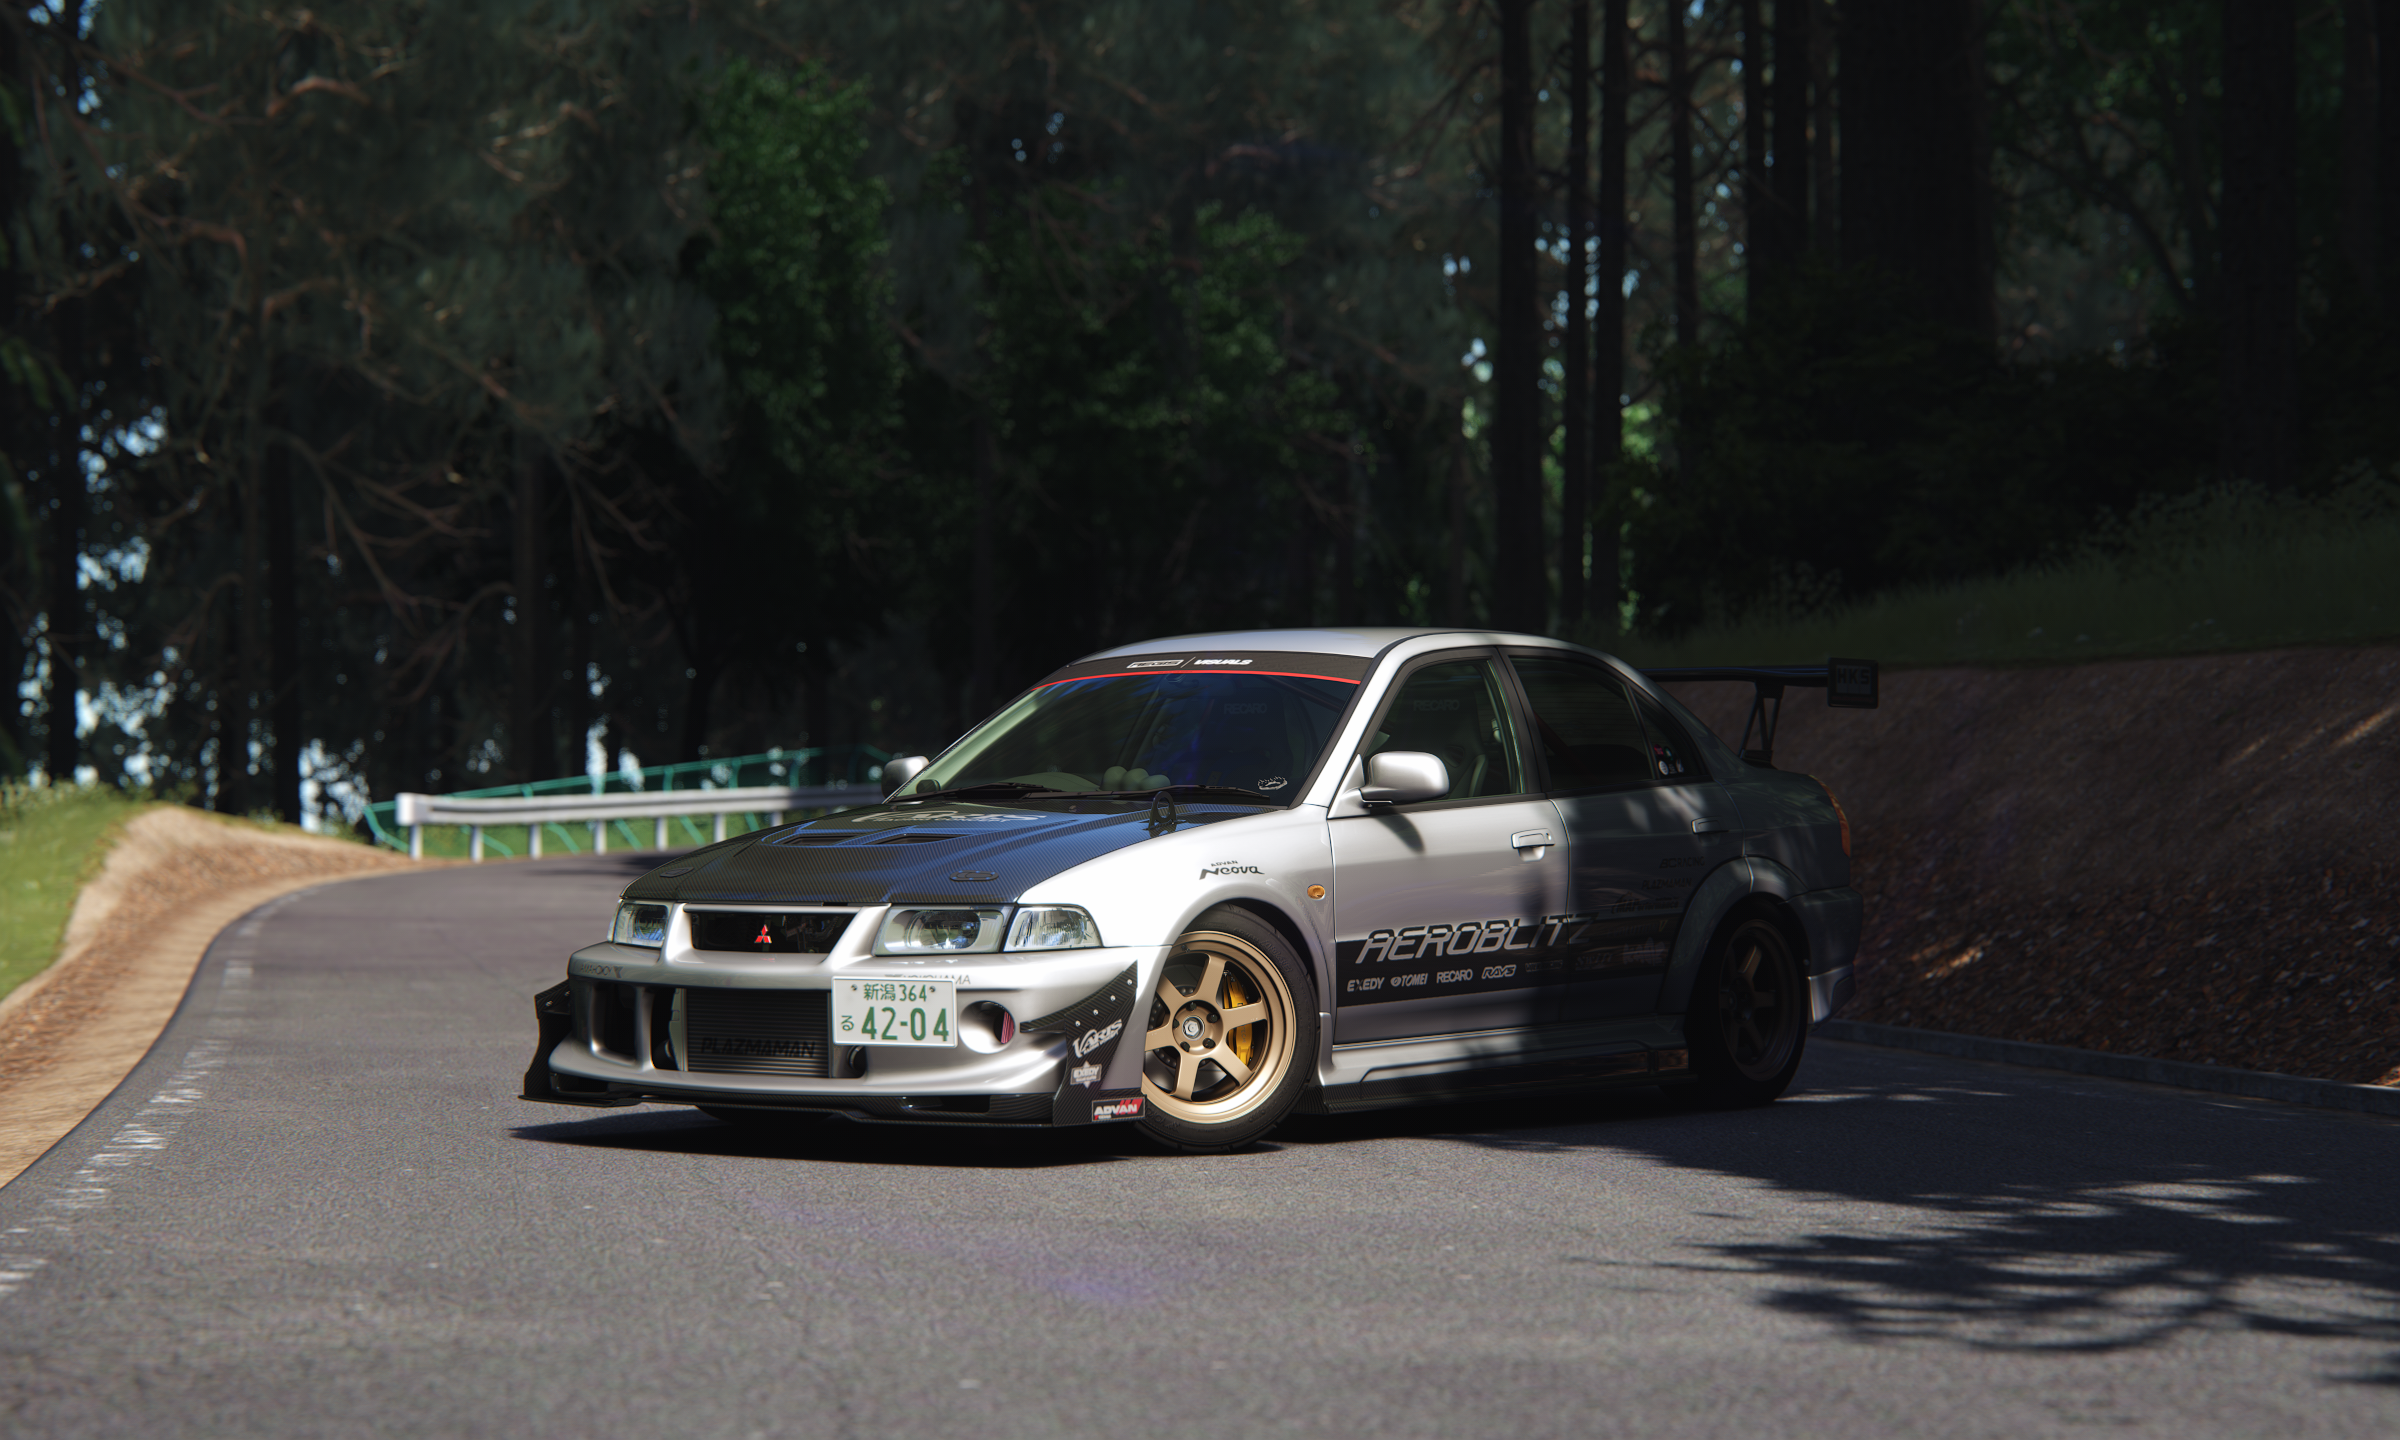
C13 AEGIS is one of the most advanced post processing filters for Assetto Corsa. It ensures optimal immersion with precise glare and saturation control. Version 1.65 was released for free! We use the paid version 1.83 for our modification.
- download C13 AEGIS v1.65 or v1.83
https://www.patreon.com/posts/c13-aegis-1-65-97550677 - extract the archive "C13AEGIS_1.65_public_HotfixPure250.zip" or "C13AEGIS_1.83.zip" and copy the extracted content to "C:\AssettoCorsa"
- copy the file "C13AEGIS_ScriptSettings.ini" from the already extracted "AssettoCorsaDashcamMod_V1.1.7z" archive to "C:\AssettoCorsa\extension\config-ext\Pure\scriptsettings"
- do not delete the extracted folder "AssettoCorsaDashcamMod_V1.1", because we will need it later on
8.) Install ReShade
----------------------

The standard version of ReShade blocks access to the depth buffer in online games. Because we run our own server ReShade thinks it runs in online mode and blocks the Depth of Field filter. Therefore we can not get the dashcam like look with a nice depth of field. To work around this limitation we have to use the official ReShade with full add-on support. The version I use for my tests is v6.1.1. This version allows access to the depth buffer and the Depth of Field filter works like expected.
Attention: If you play online with ReShade with full add-on support, you may get banned in some online games! This was also the reason I used an offline version of Assetto Corsa, although I own the original game in my Steam library.
If you want to use this tutorial with a Steam installation you have one additional option. In this case I recommend you use the standard ReShade v6.1.1 and apply the ReShade filters on the recorded Assetto Corsa replay file. This has the disadvantage that you can not use the ReShade effects in game, but you will be able to apply the effects later at replay time in case you want to record a video.
To do an online install with an active internet connection of ReShade do the following steps:
- download standard ReShade v6.1.1 if you use Assetto Corsa from your Steam library
https://reshade.me/downloads/ReShade_Setup_6.1.1.exe - download ReShade v6.1.1 with full add-on support if you use the MULTi5-ElAmigos release
https://reshade.me/downloads/ReShade_Setup_6.1.1_Addon.exe - run "ReShade_Setup_6.1.1.exe" or "ReShade_Setup_6.1.1_Addon.exe" > press OK for the full add-on version hint > Browse... > select "C:\AssettoCorsa\acs.exe" > Open > Next > select "DirectX 10/11/12" > Next > Uncheck all > Check all > Next > Finish
- run "ReShade_Setup_6.1.1.exe" or "ReShade_Setup_6.1.1_Addon.exe" > press OK for the for the full add-on version hint > Browse... > select "C:\AssettoCorsa\acs.exe" > Open > Next > select "DirectX 10/11/12" > Next > OK > 2xNext > Finish
- download ReShade shaders for offline install
https://drive.google.com/file/d/1jWOu6RTDNyLLKGzEVzsaW1DcGi7v6C2i/view?usp=drive_link - extract the archive "ReShade_V1.1.7z"
- copy the file "ReShade.ini" and the directory "reshade-shaders" to "C:\AssettoCorsa" and overwrite the file "ReShade.ini"
- copy the file "KSReshadePresetDashcam.ini" from the already extracted "AssettoCorsaDashcamMod_V1.1.7z" archive to "C:\AssettoCorsa"
- do not delete the extracted folder "AssettoCorsaDashcamMod_V1.1", because we will need it later on
9.) Install Shutoko Revival Project Track
-------------------------------------------

The Shutoko Revival Project track also known as Tokyo Metropolitan Expressway is the most popular track mod for Assetto Corsa. SRP v0.9.2 PTB2 is the public test build of the track.
- download Shutoko Revival Project v0.9.2 PTB2
https://modsfire.com/628OIl30gmTzOp9
Attention: Only download the file named "SRP 0.9.2 PTB2.7z" from ModsFire! They may show you other additional downloads you do not need at all and that may harm your computer. Sadly this public testing build is not present on the official servers anymore. - extract the archive "SRP 0.9.2 PTB2.7z" and copy the directory "content" to "C:\AssettoCorsa"
- download C13 AEGIS Modern SRP Skin
https://www.patreon.com/posts/c13-aegis-modern-84472701
You will have to register on Patreon, but the download is free. - extract the archive "C13AEGIS_MODERN_BETA_v01.7z", copy the directory "content" to "C:\AssettoCorsa" and overwrite any existing files
10.) Install Custom Traffic
-----------------------------
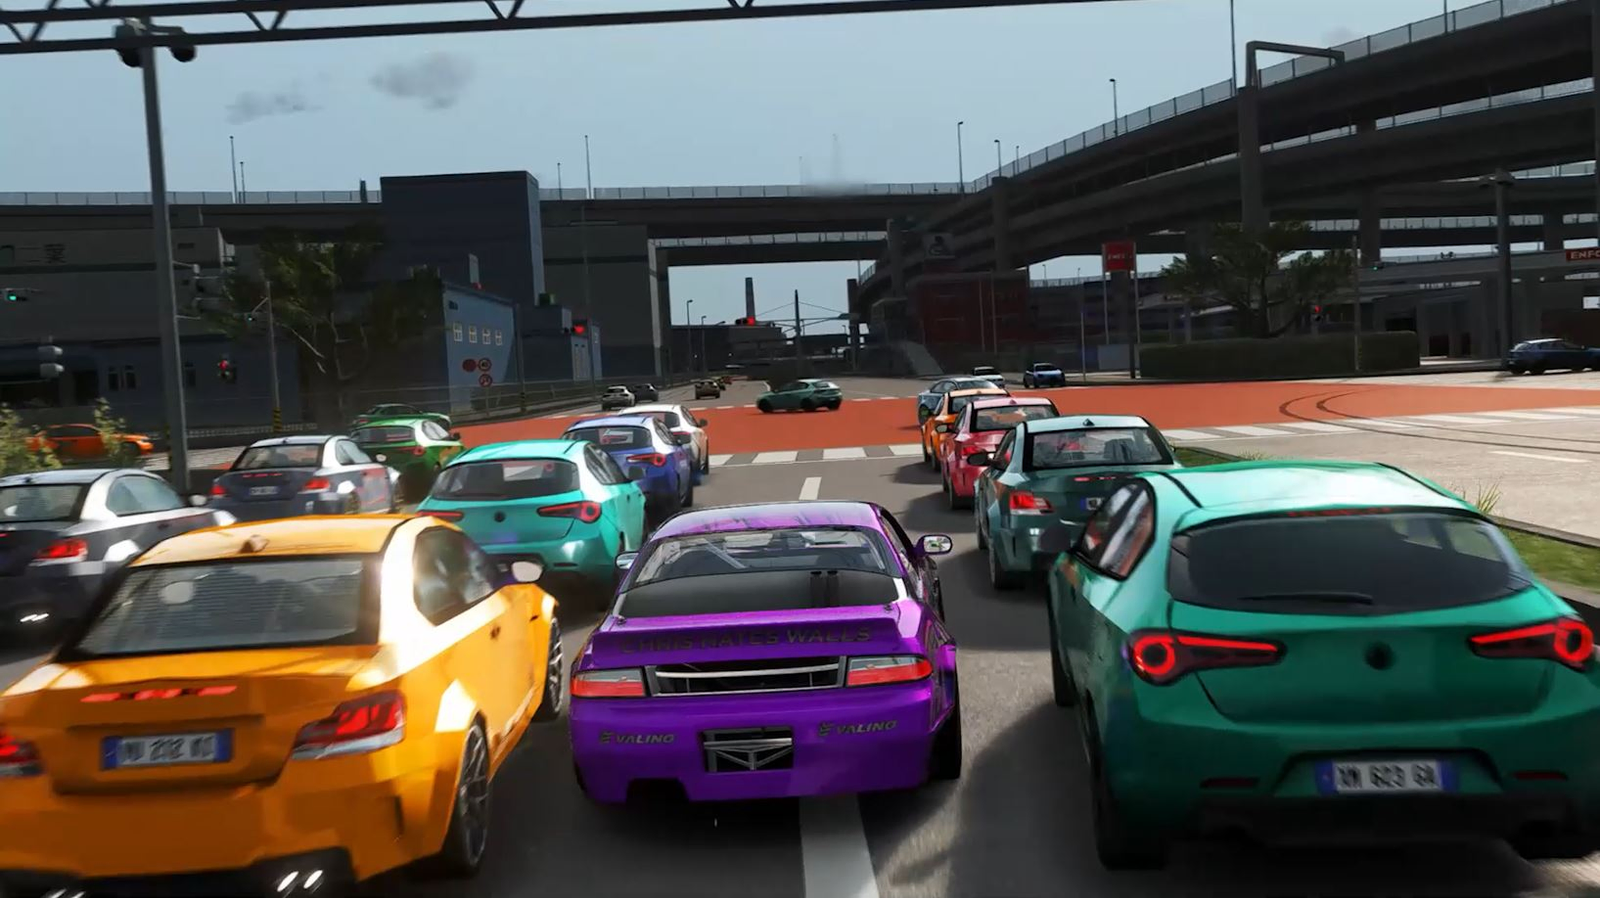
- download custom traffic cars
https://drive.google.com/file/d/1d8Q5gMj4M2mV6V-j9SvgPJRTzvb8IhXQ/view?usp=drive_link - extract the archive "Traffic_Pack.7z" and copy all car directories to "C:\AssettoCorsa\content\cars"
- copy the file "cheems.kn5" from the already extracted "AssettoCorsaDashcamMod_V1.1.7z" archive
to "C:\AssettoCorsa\content\driver"
This file is the driver for some of the traffic cars. - do not delete the extracted folder "AssettoCorsaDashcamMod_V1.1", because we will need it later on
Attention: If we would only use the Traffic Planner tool without running a dedicated AssettoServer, the traffic cars are missing in the replay! With the Traffic Planner you have to record the video directly when the game runs, because the replay does not show any traffic cars. This is the main reason why we setup an AssettoServer in the following topic.
11.) Install AssettoServer
-----------------------------

AssettoServer is a custom Assetto Corsa server with a focus on freeroam. It supports highly configurable AI Traffic and delivers dynamic weather in combination with Custom Shaders Patch.
- download AssettoServer v0.0.54
https://github.com/compujuckel/AssettoServer/releases/download/v0.0.54/assetto-server-win-x64.zip - extract the archive "assetto-server-win-x64.zip" and copy all files to "C:\AssettoCorsa\server"
- copy all files of the folder "AssettoServerConfig" from the already extracted "AssettoCorsaDashcamMod_V1.1.7z" archive to "C:\AssettoCorsa\server\cfg" and overwrite any existing files
- do not delete the extracted folder "AssettoCorsaDashcamMod_V1.1", because we will need it later on
- rename the directory "C:\AssettoCorsa\server\content\cars" to "C:\AssettoCorsa\server\content\cars_orig"
- open an administrative command prompt and enter the following commands:
mklink /J "C:\AssettoCorsa\server\content\cars" "C:\AssettoCorsa\content\cars"
mklink /J "C:\AssettoCorsa\server\content\tracks\csp" "C:\AssettoCorsa\content\tracks"
These commands will generate a so called junction link. This links the folders cars and tracks inside the content directory of the server to our Assetto Corsa client content directory. This way we do not have to copy the tracks and cars to the content directory of the server another time and we save some hard disk space. If you run a standalone server you will have to copy the cars and tracks from the client to the server.
- edit the file "C:\AssettoCorsa\server\cfg\server_cfg.ini"
- in the ini file section "[SERVER]" change the key "TRACK" to the following value:
[SERVER]
TRACK=csp/2745/../shuto_revival_project_beta_ptb
Attention: "2745" is the Shaders Patch version ID which can be found in Content Manager > Menu > Settings > Custom Shaders Patch > About & Updates > Shaders Patch version ID. We already did this change in our server configuration file, but depending on the CSP version you use this has to be changed to the correct version ID! - save the file "C:\AssettoCorsa\server\cfg\server_cfg.ini"
- edit the file "C:\AssettoCorsa\content\tracks\shuto_revival_project_beta_ptb\overload_layout\data\surfaces.ini"
- rename the section "[SURFACE_0]" to "[CSPFACE_0]"
- save the file "C:\AssettoCorsa\content\tracks\csp\shuto_revival_project_beta_ptb\overload_layout\data\surfaces.ini"
- copy the file "speedtrap.lua" from the already extracted "AssettoCorsaDashcamMod_V1.1.7z" archive to "C:\AssettoCorsa\content\tracks\shuto_revival_project_beta_ptb\extension"
- edit the file "C:\AssettoCorsa\content\tracks\shuto_revival_project_beta_ptb\extension\ext_config.ini" and add the
following section:
[SCRIPT_1]
SCRIPT = 'speedtrap.lua'
- save the file "C:\AssettoCorsa\content\tracks\shuto_revival_project_beta_ptb\extension\ext_config.ini"
- do not delete the extracted folder "AssettoCorsaDashcamMod_V1.1", because we will need it later on
12.) Content Manager Configuration
---------------------------------------
The following settings for Content Manager may seem a bit overwhelming, but I want to detail to you every little setting I changed in order to make Assetto Corsa look like real. For the Custom Shaders Patch you can import the preset file from the download link. Pay attention that these settings may be dependant on the used hardware. So for example if you do not use an NVIDIA GPU like I do, you should change a few settings below. Therefore it is advisable, that you check each setting to be compatible with your hardware.
- start "C:\Users\[UserName]\Desktop\Content Manager.exe" and change the following settings
- Menu > About > click 4 times on the "Version: 0.8.2594.39678 (x86)" text > a message box with the title "Developer mode" and the text "Enable developer mode?" appears > choose Yes
- Menu > Drive > single > Quick
- change car to "Porsche 911 GT3 RS" with white color
- change track to "Shutoko Revival Project 0.9.2 - Overload Layout"
- below the map image click on "No active skins" and select "AEGIS Modern by C13"
- change the Assists from "Pro" to "Gamer"
This way we can also drive with a XBOX360 controller gamepad. - choose "Practice" > uncheck "Penalties"
- Weather: Pure
- Menu > Settings > Content Manager > General
- Check for updates: Disabled
- Menu > Settings > Content Manager > Drive
Extended Weather- uncheck "Replace clouds by weather clouds if exist"
- uncheck "Use custom weather PP-filter"
- uncheck "Use custom weather particles"
- Menu > Settings > Content Manager > Online
Adding by IP:- Scan ports: 9600
- Scan ports: 9600
- Menu > Settings > Content Manager > Replays
AC settings:- Quality: Ultra (67 Hz)
- Maximum Size: 2000 MB
Because the necessary replay size increases with the recorded traffic cars, we may only be able to record a one minute replay with the default setting. Therefore we should increase this size to the maximum.
- Menu > Settings > Assetto Corsa > Video
Resolution and FPS:- Resolution: 1920x1080, 60 Hz
- check "Fix resolution automatically"
- check "Vertical synchronization"
- check "Limit framerate"
- Framerate: 60 FPS
- MSAA: 4x
- Anisotropic filtering: 16x
- World details: Maximum
- Shadow resolution: 4096x4096
- Smoke generation: Maximum
- check "Show smoke in mirrors"
- Reflection resolution: 2048x2048
- Rendering frequency: Two faces per frame
- Rendering distance: 2400 m
- check "Enable post-processing effects"
- Filter: C13AEGIS
- Overall quality: Maximum
- Glare quality: Maximum
- Depth of field: Maximum
- Motion blur: Off
- Saturation: 100%
- check "Heat shimmering"
- check "Sunrays"
- check "FXAA"
- Mirror resolution: 512x2048
- check "High quality"
- Menu > Settings > Assetto Corsa > View & UI
- uncheck "Show leaderboard"
- uncheck "Show virtual mirror"
- Field of view: 70°
- Menu > Settings > Assetto Corsa > Controls
In the preset combo box at the bottom of the page choose "XBOX360 Controller" and choose "Yes" to load the controller configuration. - Menu > Settings > Assetto Corsa > System
- check "Developer apps"
- check "Allow free camera"
- uncheck "Show nearest opponents"
This setting will remove the red triangle if a traffic car is near you.
- Menu > Settings > Assetto Corsa > Python Apps
- check "Enable Python apps"
- check "Developer apps"
- check "Chat"
- Menu > Settings > Assetto Corsa > Chase Camera
- select "Second camera"
- Distance: 5 m
- Height: 3 m
- Pitch: 7,6°
You can set this value manually by clicking on the value.
This camera is used to record the Assetto Corsa replay and see traffic that is far away. This way we better see the traffic cars as if we would drive in cockpit view.
- Menu > Settings > Custom Shaders Patch > About & Updates
Automatic updates:- Update automatically: Do not auto-update
- Check for updates: Every 1 day
All the patches should already be present and we do not need to have an online connection, because we extracted the directory "extension" to the Assetto Corsa folder during the installation of Custom Shaders Patch. If you have an online connection it is advisable to check for updates frequently to also update the patch lists.
- Menu > Settings > Custom Shaders Patch > General Patch Settings
CPU optimizations, experimental (can reduce CPU load in certain situations):- check "Flatten nodes"
- Limit smoke: 1
- check "Optimize meshes some more"
- Menu > Settings > Custom Shaders Patch > Chaser Camera
- check "Active"
- Menu > Settings > Custom Shaders Patch > DXGI
Common tweaks:- check "Use triple buffering"
- check "Active"
- check "Allow tearing for lower latency"
- Menu > Settings > Custom Shaders Patch > Extra FX
Extension:- check "Active"
- check "Allow Extra FX in triple screen mode"
- check "Active"
- Amount of blur: 70%
- Quality: High
- Extra sharpness: 70%
- Sharpen temporal data: 40%
- Blur new pixels: 70%
- Quality: Hi-Z (New)
- Steps: 250
You can set this value manually by clicking on the value.
- check "Active"
- Opacity: 100%
- Resolution: 32%
- Menu > Settings > Custom Shaders Patch > Fake Shadow FX
Light-related visual params:- check "Dynamic lights w/o shadows"
- Menu > Settings > Custom Shaders Patch > Freer Camera
Extension:- check "Alternative controls"
- Move lag: 95%
- FOV speed: 0.1
- check "Control DOF with Alt and mouse wheel"
- Fov lag: 94%
- Look lag: 95%
- check "Extra smooth movement"
- Move lag: 99%
- FOV speed: 0.1
- check "Arrows move camera in horizontal plane"
- check "Control DOF with Alt and mouse wheel"
- Look lag: 96%
- check "Extra smooth movement"
- check "Active"
- Menu > Settings > Custom Shaders Patch > Gamepad FX
- uncheck "Active"
- Menu > Settings > Custom Shaders Patch > Graphics Adjustments
Adaptive clip planes:- Far plane, m: 20000, 30000
Attention: Do not change this setting to "200000, 30000" for Shutoko Revival Project track like shown in their video tutorial to render distant terrain properly. If we change this parameter we get the following error in Pure Config application:
"Adaptive clip planes are deactivated or have wrong settings. You need proper adaptive clip planes!"
- Mode: CMAA 2.0
- Quality: Ultra
- check "Extra sharp"
- Far plane, m: 20000, 30000
- Menu > Settings > Custom Shaders Patch > Grass FX
Extension:- Quality: Very High
- check "Use smoother blending with MSAA"
- check "Cast shadows when possible"
- check "Extra FX pass"
- Menu > Settings > Custom Shaders Patch > GUI
Hide certain components:- check "Hide and disable console"
- check "Hide CPU occupancy warning"
- check "Active"
- check "Shift camera when paused"
- Menu > Settings > Custom Shaders Patch > Lighting FX
Extension:- Brightness: 100%
- check "Active"
- Menu > Settings > Custom Shaders Patch > Neck FX
Extension:- check "Active"
- uncheck "Use with TrackIR devices working"
- uncheck "Use with VR"
- Menu > Settings > Custom Shaders Patch > New AI behavior
AI flood (works in Track Day mode):- Minimum track length: 1000 m
- Push force: 150000 N
- Menu > Settings > Custom Shaders Patch > Rain FX
Visual tweaks:- Rain maps quality: High
- Car cameras: Small drops
- Free camera: Small drops
- Chase cameras: Small drops
- check "Active"
- Menu > Settings > Custom Shaders Patch > Skidmarks FX
New implementation:- check "Advanced blending"
- check "Reset with new session in multi-session race"
- Menu > Settings > Custom Shaders Patch > Smart Mirror
Real Mirrors:- check "Active"
- check "Enable real mirrors if car is focused"
- uncheck "No sunlight in interior"
- Menu > Settings > Custom Shaders Patch > Smart Shadows
Disable car shadows in third cascade:- uncheck "For interior view"
- Menu > Settings > Custom Shaders Patch > Track adjustments
Crew:- check "Hide crew in practice mode"
- Menu > Settings > Custom Shaders Patch > Weather FX
Extension:- Weather style: Pure
- check "Turn headlights on and off automatically"
- check "Add mirage-like reflections"
- Delay between updates: 1 s
- Menu > Settings > Custom Shaders Patch > Mode tweaks: Triple
Extension:- uncheck "Active"
- Menu > Settings > Custom Shaders Patch > Mode tweaks: VR
Extension:- uncheck "Active"
- Menu > Settings > Custom Shaders Patch > Logitech G27/29
Extension:- uncheck "Active"
- Menu > Settings > Custom Shaders Patch > Small tweaks
Miscellaneous:- check "Recolor default driver suit darker"
- check "Hide standing spectators"
13.) Install comfy map to enable teleportation
--------------------------------------------------
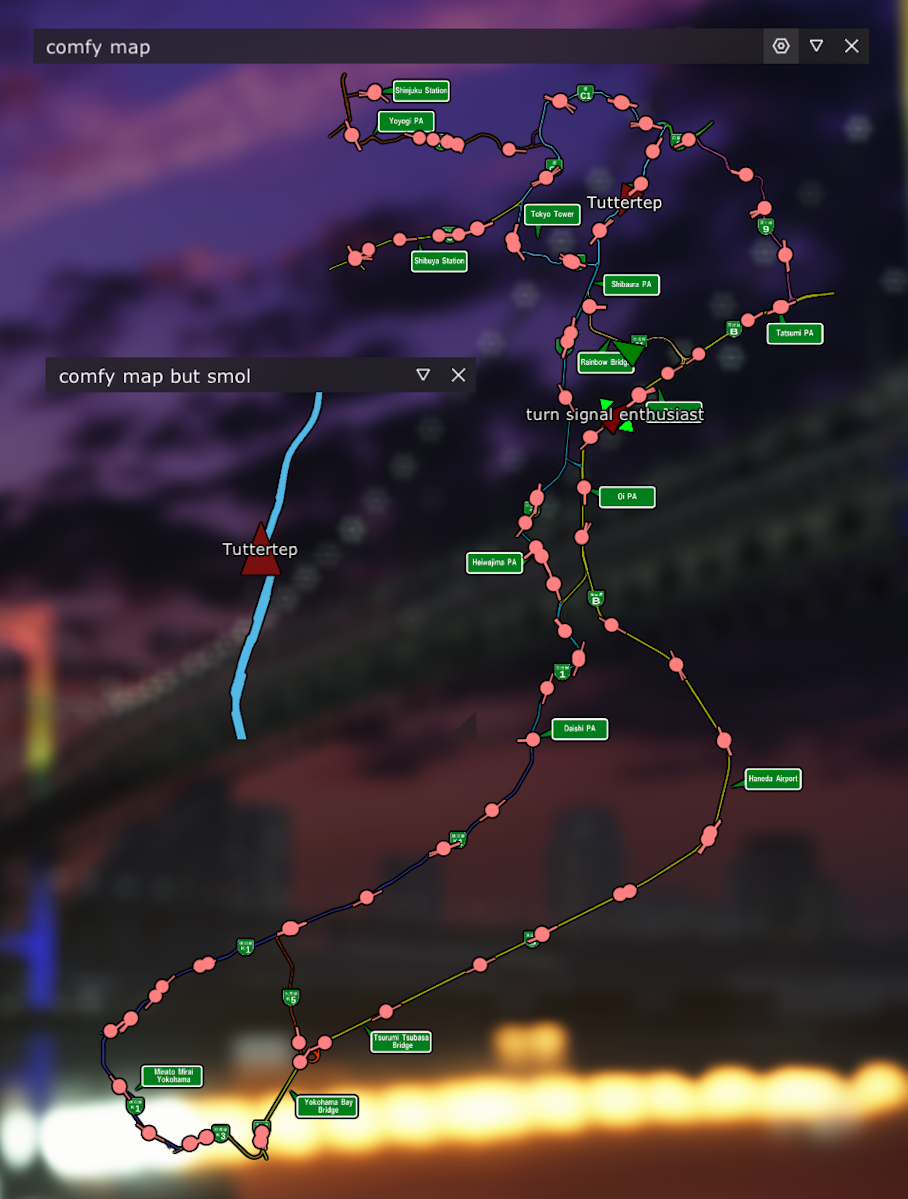
Comfy map app will enable teleportation for the Shutoko Revival Project Track. This is necessary, because the map is really huge and we do not always want to start at the standard location Tatsumi PA. To install comfy map do the following:
- download comfy map v0.008 (register a free account to download)
https://www.overtake.gg/downloads/comfy-map.52623 - drag and drop the downloaded archive onto Content Manager > choose the install symbol on the top right > Install
- the files from the archive will get copied to the directory "C:\AssettoCorsa\apps\lua\comfy_map"
- now you can choose the comfy map app in game and left click on a teleport locations to teleport to it
14.) Install Overtake Script
------------------------------
- create the directory "C:\AssettoCorsa\extension\lua\online"
- copy the file "overtake.lua" from the already extracted "AssettoCorsaDashcamMod_V1.1.7z" archive to "C:\AssettoCorsa\extension\lua\online"
- edit "C:\AssettoCorsa\server\cfg\csp_extra_options.ini" and add the following:
[SCRIPT_1]
SCRIPT = 'overtake.lua'
I already added this section to my server configuration file.
15.) Install Dashcam Speed Overlay
---------------------------------------
- copy the directory "breez_dashcam" from the already extracted "AssettoCorsaDashcamMod_V1.1.7z" archive to "C:\AssettoCorsa\apps\python"
- copy the file "Retro Gaming.ttf" from the already extracted "AssettoCorsaDashcamMod_V1.1.7z" archive to "C:\AssettoCorsa\content\fonts"
- Content Manager > Menu > Settings > Assetto Corsa > Python Apps > check "Breez Dashcam"
- we can change the dashcam from KMH to MPH in Content Manager > Menu > Settings > Assetto Corsa > Python App Settings
- you can now delete the extracted folder "AssettoCorsaDashcamMod_V1.1", because we will not need it anymore
16.) Install MrAssettoapp
-----------------------------
- download MrAssettoapp
https://www.patreon.com/posts/aii-so-i-made-103897879 - extract the archive "MrAssettoapp.rar" and copy the directory "MrAssettoapp" to "C:\AssettoCorsa\apps\python"
- Content Manager > Menu > Content > miscellaneous > MrAssetto Server Admin App > check "Activated"
I sucessfully used the following value combinations for light, heavy and very dense traffic.
- Light taffic I used in the first videos with 48 traffic cars:
MinAiSafetyDistanceMeters: 12
MaxAiSafetyDistanceMeters: 30
MaxSpeedKph: 80
RightLaneOffsetKph: 30
- Light traffic with 96 traffic cars:
MinAiSafetyDistanceMeters: 30
MaxAiSafetyDistanceMeters: 60
MaxSpeedKph: 80
RightLaneOffsetKph: 20
- Heavy traffic with 96 traffic cars:
MinAiSafetyDistanceMeters: 15
MaxAiSafetyDistanceMeters: 30
MaxSpeedKph: 80
RightLaneOffsetKph: 20
- Very dense traffic with 96 traffic cars:
MinAiSafetyDistanceMeters: 10
MaxAiSafetyDistanceMeters: 20
MaxSpeedKph: 80
RightLaneOffsetKph: 20
Attention: The traffic density also depends on the number of lanes on the track. If we have three lanes like for Tatsumi PA the traffic flows better than if we have only two lanes. Flowing dense traffic for 3 lanes may become undrivable traffic on two lanes.
17.) Remove the yellow flag
-------------------------------
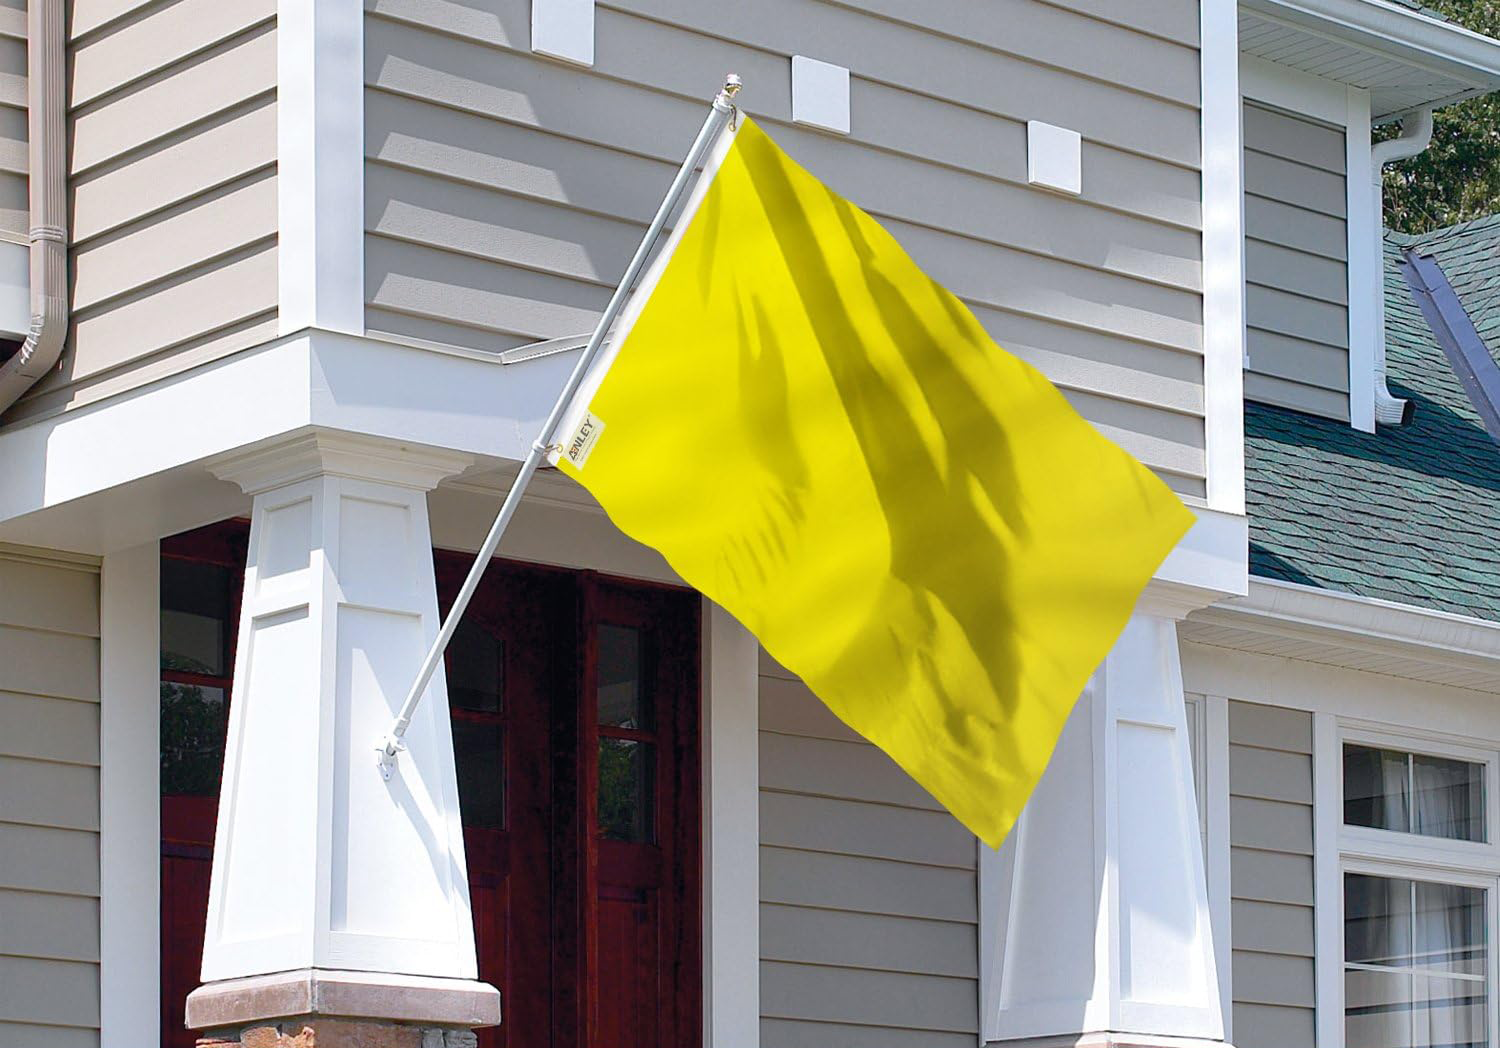
If we drive in traffic we may see the yellow flag on the top left corner very often. To disable the yellow flag simply rename the file "C:\AssettoCorsa\content\gui\flags\yellowFlag.png" to "yellowFlag.png_orig". After that the yellow flag is not displayed anymore.
18.) Configure Dashcam View
--------------------------------
To configure the dashcam view and match my videos on YouTube, you have to do the following changes:
- create the directory structure "C:\Users\[UserName]\Documents\Assetto Corsa\cfg\cars\ks_porsche_911_gt3_rs"
- create the file "view.ini" in the directory "ks_porsche_911_gt3_rs" with the following content to match video 1 or videos 2 and 3 from my YouTube channel
- Video 1:
[CAMERA]
ON_BOARD_PITCH_ANGLE=-0.024247
ON_BOARD_YAW_ANGLE=0
[DRIVER_EYES_POSITION]
DRIVEREYES=-0.326361,1.00789,0.387491
- Videos 2 and 3:
[CAMERA]
ON_BOARD_PITCH_ANGLE=-0.024247
ON_BOARD_YAW_ANGLE=0
[DRIVER_EYES_POSITION]
DRIVEREYES=-0.295924,0.990359,0.372638
- The 2nd video setting is better, because the 1st setting moves the camera way to much to the windscreen and we see outside the window in the upper third. So I would recommend the 2nd setting.
- save the file "view.ini"
To configure your own settings like dashcam or passenger view you have to change the settings in game like so:
- open "Onboard Settings" app with the helmet logo
- use arrows to move the camera to the passenger seat
- to center it hold right mouse button and look down at the seat
- use "SEAT POS" to move the camera to the front window
- click button "Save" and the settings are saved to the file
"C:\Users\[UserName]\Documents\Assetto Corsa\cfg\cars\ks_porsche_911_gt3_rs\view.ini" - press Ctrl+H to hide HUD and apps
- press Ctrl+F8 to hide the mouse
- hold right mouse button to look around freely
- Neck FX will handle the shaking and G-Forces
19.) Run Game
-----------------
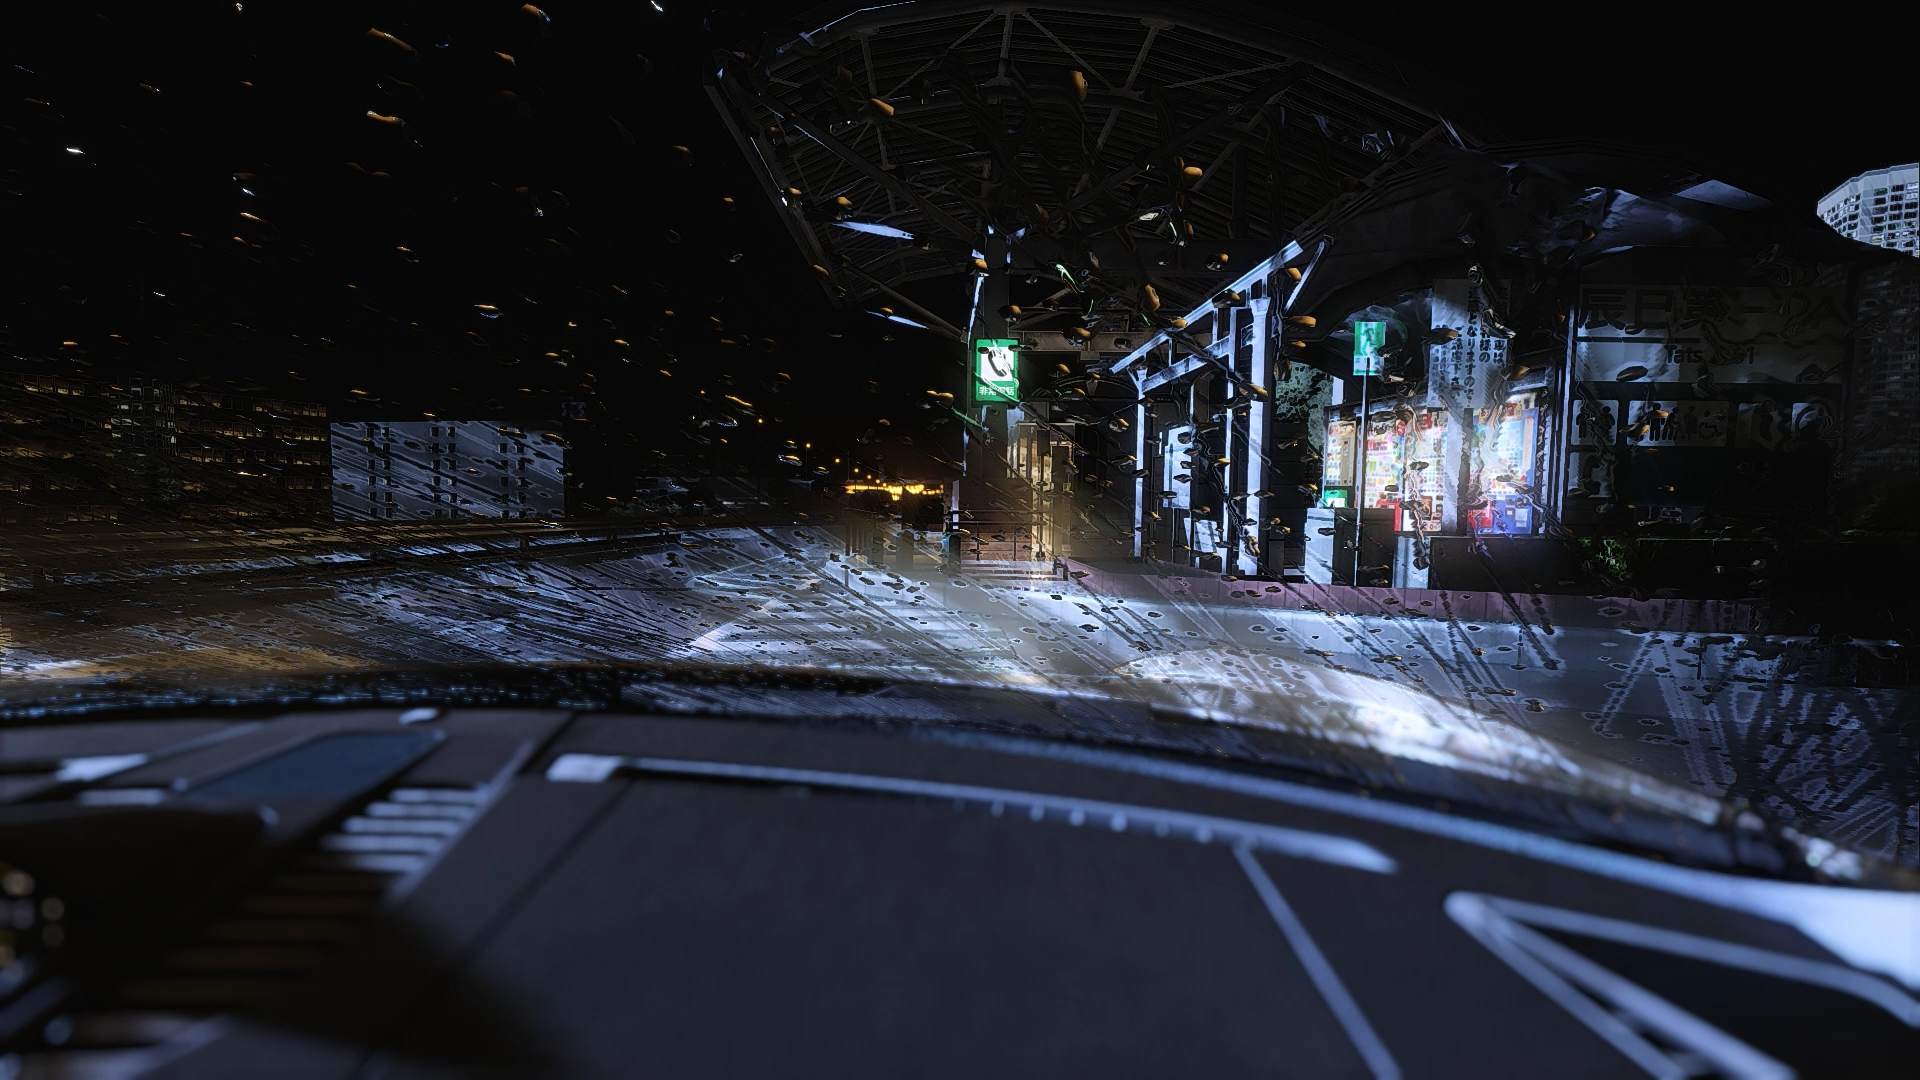
We can now run the game in Multiplayer in combination with our own server. If your Windows Firewall blocks all programs like mine, then you should create an outbound firewall rule for Content Manager and the path "C:\Users\[UserName]\Desktop\Content Manager.exe". Pay attention that if you choose the path in Windows Firewall with the "Browse..." button, the path may be created with the %USERPROFILE% environment variable like "%USERPROFILE%\Desktop\Content Manager.exe". This does not seem to work at all. Therefore you would have to enter the full path to the executable. We do not have to create an inbound firewall rule for "AssettoServer.exe".
- connect your XBOX360 controller
- run "C:\AssettoCorsa\server\AssettoServer.exe"
- run "C:\Users\[UserName]\Desktop\Content Manager.exe" > Menu > Drive > online > LAN > choose the refresh symbol > select our server with the name "AC_Server" > select the "Porsche 911 GT3 RS" as your car > tab "Assists" > select "Gamer" preset > Join
- in game click on "Drive" wheel symbol
- the dashcam should already be the selected camera
- to change the camera press F1
- press Ctrl+H to hide HUD and apps
- open ReShade overlay by pressing "Home" or "Pos1" button on the keyboard > choose "Skip Tutorial"
- load the ReShade settings from "KSReshadePresetDashcam.ini"
- let ReShade compile all modules
- to optionally disable ReShade completely in game do the following:
- click tab "Settings" > left of the "Effect toggle key" click with the mouse and press F12
- click tab "Home" and press "Home" or "Pos1" to close the ReShade UI
- if you press F12 now the ReShade effects are turned off and on
- close ReShade overlay by pressing "Home" or "Pos1"
- use F12 to turn off / on ReShade
- press F12 to deactivate ReShade
- on the right side go to the Assetto Corsa application panel
- open Pure Config > activate Pure Lightning Shader with full flashing effects > tab Main > Reset Pure > Reset To Defaults
- the following settings can be imported by using the "Import" button and choosing "KSPurePresetDashcamExtremeLighning.ini":
- tab AI > Activate Headlights control > select "Headlights Default" and "High Beams Default"
- tab Shaders > lightning > the following values have to be activated to generate extreme lightning:
- shaders.lightning.active: checked
- shaders.lightning.speed: 1.000
- shaders.lightning.discharge_exponent: 12.000
- shaders.lightning.discharge_ionisation: 2.000
- shaders.lightning.maximum_flash_light: 10.000
- shaders.lightning.bounced_light: 6.000
- shaders.lightning.saturation: 1.000
- shaders.lightning.debug: checked
- shaders.lightning.debug_phase: 0.850
- shaders.lightning.debug_direction: 79.616
- shaders.lightning.debug_distance: 6000.000
- shaders.lightning.debug_height: 700.000
- shaders.lightning.debug_size: 3000.000
- shaders.lightning.debug_rotation: 0.000
- shaders.lightning.debug_variant: 1.000
- shaders.lightning.debug_flicker: unchecked
- shaders.lightning.debug_flicker_strength: 0.100
- shaders.lightning.debug_sequence: checked
- tab PP > button "LOAD config + script set."
This loads the settings from the file "C13AEGIS_ScriptSettings.ini". - close Pure Config
- to reset any changed value in Pure Config to the default simply click the value slider with the right mouse button
- open Pure Planner > select "Directly to Pure mode" > tab "Day" > click the weather symbol
> tab "Type" > set weather to "Heavy Thunderstorm" > tab "Data" > uncheck "Rain Amount"
and set the slider to 50.3% > close Pure Planner
Attention: The date and time can not be changed inside Pure Planner if we are connected to a server, because these values are set on the server side! - open the chat app and type the following server commands:
/admin mypassword
/settime 00:00
/setrain 1 1 1
20.) Server Commands
--------------------------

In game you can type the following commands in the admin console before you select the drive symbol or, if in game, you can type them in the chat application.
- login as admin, this is necessary to change the settings:
/admin <password>
/admin mypassword
/settime <time in the format HH:MM>
/settime 13:45
/setrain <intensity> <wetness> <water>
/setrain 1 1 1
The value range starts at 0 and ends at 1 which equals 100%. To get 10% you have to pass 0.1.
/setgrip <grip>
/setgrip 98
/cspweather
/cspweather
/setcspweather <weather type> <transition duration in seconds>
/setcspweather 2 0
/setcspweather HeavyThunderstorm 0
The following weather types are available:
0 LightThunderstorm
1 Thunderstorm
2 HeavyThunderstorm
3 LightDrizzle
4 Drizzle
5 HeavyDrizzle
6 LightRain
7 Rain
8 HeavyRain
9 LightSnow
10 Snow
11 HeavySnow
12 LightSleet
13 Sleet
14 HeavySleet
15 Clear
16 FewClouds
17 ScatteredClouds
18 BrokenClouds
19 OvercastClouds
20 Fog
21 Mist
22 Smoke
23 Haze
24 Sand
25 Dust
26 Squalls
27 Tornado
28 Hurricane
29 Cold
30 Hot
31 Windy
32 Hail
21.) Backup and Restore all settings
---------------------------------------
After all above changes have been applied it would be a good time to backup all the settings. This way you will be able to restore them later on if you reinstall your machine or want to copy Assetto Corsa to another computer.
To save everything we did you have to backup the following 3 directories:
- "C:\AssettoCorsa"
- "C:\Users\[UserName]\Documents\Assetto Corsa"
- "C:\Users\[UserName]\AppData\Local\AcTools Content Manager"
22.) How to record Assetto Corsa replays for later video editing
--------------------------------------------------------------------
The last 3 topics in this tutorial show you how I record my YouTube videos for a smooth 60 fps replay with only an NVIDIA GeForce GTX 1080 GPU. First we have to change a few video settings in Content Manager to reduce the load during replay recording and get a better performance on capturing. Values in braces are the original values we set on Content Manager configuration. These values are restored later on before we start the video recording.
- Content Manager > Settings > Assetto Corsa > Video > change the following settings:
Quality:- MSAA: Off (4x)
- Anisotropic filtering: Off (16x)
- World details: Minimum (Maximum)
- Shadows resolution: Off (4096x4096)
- Smoke generation: Off (Maximum)
- Show smoke in mirrors: uncheck (checked)
- Reflection resolution: Off (2048x2048)
- Rendering frequency: - (Two faces per frame)
- Rendering distance: - (2400 m)
- Enable post-processing effects: uncheck (checked)
- Filter: - (C13AEGIS)
- Overall quality: - (Maximum)
- Glare quality: - (Maximum)
- Depth of field: - (Maximum)
- Motion blur: - (off)
- Saturation: - (100%)
- Heat shimmering: - (checked)
- Sunrays: - (checked)
- FXAA: - (checked)
- Mirror resolution: Off (512x2048)
- High quality: - (checked)
- start AssettoServer
- join a Multiplayer session on our server
- in game click on "Drive" wheel symbol
- press F1 to change to our second chasecam view from above
This way we see the far away traffic better. - turn on wiper on interval, level 1, 2 or 3 based on the fact if you want to use rain later on for the finished replay file
- turn headlights on if you plan to drive at night
This setting can also be enabled later on by using Pure for our car and all traffic cars. - drive and do some good maneuvers
- exit the game
- on the Content Manager dialog box select the arrow right of the button "Replay" and select "Keep replay" > choose "Close"
- the replay is saved in the directory "C:\Users\[UserName]\Documents\Assetto Corsa\replay"
- copy the replay to a backup location
23.) Install NVIDIA ShadowPlay
----------------------------------
- download GeForce Experience v3.21.0.36
https://us.download.nvidia.com/GFE/GFEClient/3.21.0.36/GeForce_Experience_v3.21.0.36.exe - download GeForce Experience v3.21.0.36 patched app.js
https://raw.githubusercontent.com/AntiGuide/BaiGfe/Fix_3.21.0.36/app.js - uninstall any version of NVIDIA GeForce Experience
- install "GeForce_Experience_v3.21.0.36.exe"
- close GeForce Experience if it's running
- copy the patched file "app.js" to C:\Program Files\NVIDIA Corporation\NVIDIA GeForce Experience\www" and overwrite the existing file
- disable all inbound and outbound Windows Firewall rules which the installer has created
- start GeForce Experience > if the dialog "The page could not be loaded. Check your internet connectivity and try again." appears close it
- if the dialog "Keep your games optimized" appears select "Skip"
- Menu > Settings > Games > remove all scan locations > Add > choose "C:\AssettoCorsa" > Select Folder > Scan now
- GeForce Experience will find one supported game
- Menu > Open in-game overlay > Record > Settings > make sure the following settings are set:
- Instant Replay length: 5 minutes
- Quality: High
- Resolution: In-game
- Frame rate: 60 FPS
- Bit rate: 50 Mbps
- Menu > Settings > HUD layout > Status indicator > select "Off" > Back > Done > close overlay
This will disable the status LED shown at the bottom right corner inside every video file. - To change the temporary files and videos directories you will have to go to Menu > Settings >
Recordings > "Temporary files" and "Videos" > enter the new directories > Back > Done > close
overlay
I use this to set the temporary files and videos directories to a ram disk drive, which can record the content fast. This helps to minimize possible frame drops at recording time. - leave the GeForce Experience window open
- in game we can press Alt+Z to display the overlay
- choose "Record" > "Start" to start recording
- choose "Record" > "Stop and Save" to stop and save the video
- the video is saved in the directory "C:\Users\[UserName]\Videos\Assetto Corsa"
24.) Record the final video based on the Assetto Corsa replay file
---------------------------------------------------------------------
Attention: On the first loaded replay we most times have a frame drop at the beginning if the first traffic car is displayed! I think this is related to the traffic cars loading in game. Simply stopping the replay after the first frame drop and start recording again solves the problem.
Now we change the video settings back to normal and very good quality in Content Manager.
- start Content Manager > Menu > Settings > Assetto Corsa > Video > and change the following settings:
Quality:- MSAA: 4x
- Anisotropic filtering: 16x
- World details: Maximum
- Shadows resolution: 4096x4096
- Smoke generation: Maximum
- Show smoke in mirrors: checked
- Reflection resolution: 2048x2048
- Rendering frequency: Two faces per frame
- Rendering distance: 2400 m
- Enable post-processing effects: checked
- Filter: C13AEGIS
- Overall quality: Maximum
- Glare quality: Maximum
- Depth of field: Maximum
- Motion blur: off
- Saturation: 100%
- Heat shimmering: checked
- Sunrays: checked
- FXAA: checked
- Mirror resolution: 512x2048
- High quality: checked
- close MSI Afterburner if you are using it, otherwise the recording performance may decrease and we may get frame drops
- Content Manager > Menu > Media > replays > choose the replay file we want to use > Play
- stop the replay in game with the Play/Pause button
- press F1 to change the camera to the dashcam
- press Ctrl+H to hide HUD and apps
- open ReShade overlay by pressing "Home" or "Pos1" on the keyboard
- load the ReShade settings from "KSReshadePresetDashcam.ini"
- close ReShade overlay by pressing "Home" or "Pos1" on the keyboard
- use F12 to turn off / on ReShade
- press F12 to deactivate ReShade
- on the right side go to the Assetto Corsa application panel
- open Pure Config > tab Main > Reset Pure > Reset To Defaults
- the following settings can be imported by using the "Import" button and choosing "KSPurePresetDashcamExtremeLighning.ini":
- tab AI > Activate Headlights control > select "Headlights Default" and "High Beams Default"
- tab Shaders > lightning > the following values have to be activated to generate extreme lightning:
- shaders.lightning.active: checked
- shaders.lightning.speed: 1.000
- shaders.lightning.discharge_exponent: 12.000
- shaders.lightning.discharge_ionisation: 2.000
- shaders.lightning.maximum_flash_light: 10.000
- shaders.lightning.bounced_light: 6.000
- shaders.lightning.saturation: 1.000
- shaders.lightning.debug: checked
- shaders.lightning.debug_phase: 0.850
- shaders.lightning.debug_direction: 79.616
- shaders.lightning.debug_distance: 6000.000
- shaders.lightning.debug_height: 700.000
- shaders.lightning.debug_size: 3000.000
- shaders.lightning.debug_rotation: 0.000
- shaders.lightning.debug_variant: 1.000
- shaders.lightning.debug_flicker: unchecked
- shaders.lightning.debug_flicker_strength: 0.100
- shaders.lightning.debug_sequence: checked
- tab PP > Tonemapping > select "Sensitometric (Yebis default)"
Attention: If we import the Pure settings from our ini file, we have to go to the tab "PP" > Tonemapping > and select "Sensitometric (Yebis default)" again, otherwise this value is reset to the standard default one. The same reset happens if we enable or disable the "shaders.lightning.debug" flag! - close Pure Config
- to reset any changed value in Pure Config to the default simply click the value slider with the right mouse button
- open Pure Planner > select "Replay mode" > tab "Timed" > delete all weather entries except the first one > set time to 00:00 > click the weather symbol > tab "Type" > set weather to "Heavy Thunderstorm" > tab "Data" > uncheck "Rain Amount" and set the slider to 50.3% > close Pure Planner
- open the Assetto Corsa application "Breez Dashcam" to show the dashcam speed overlay
- go to the point in the video where we want to start recording
- press F12 to activate ReShade
- press Alt+Z to open NVIDIA ShadowPlay overlay > choose Record > Start
- run the Assetto Corsa replay
- move the mouse to the upper left corner to hide the replay panel
- the mouse pointer will disappear after a few seconds
- at the end of the recording press Alt+Z to open NVIDIA ShadowPlay overlay > choose Record > Stop and Save
- press Alt+Z again to close NVIDIA ShadowPlay overlay
- exit the game
- the video is saved in the directory "C:\Users\[UserName]\Videos\Assetto Corsa"
25.) Final Video Editing
--------------------------
I edited the final video in Adobe Premiere, added some music and the police chatter of "Need for Speed Most Wanted 2005". In videos 2 and 3 the driver voices of the Shadow Warrior and Duke Nukem are added. In addition I created a custom dashcam overlay in Adobe After Effects. These pieces together make up some great atmosphere.
26.) Credits
--------------

Last but not least many thanks and much respect to all the people that inspired me to write this tutorial.
- Kunos Simulazioni (Assetto Corsa Ultimate Edition)
- x4fab (Content Manager and Custom Shaders Patch)
- Peter Boese (Pure Weather Simulation and Post Processing Filter)
- C13 AEGIS (C13 Automotive)
- crosire and developers (ReShade)
- Not-Smelly-Garbage (unlocked ReShade)
- Developers of Shutoko Revival Project
- C13 AEGIS Modern SRP Skin (AEGIS VISUALS)
- compu (fast_lane.aip)
- HK51 and others for the custom traffic cars
- AssettoServer Development Team
- Tuttertep (comfy map)
- Breez9N (Dashcam Speed Overlay)
- Mr.Assetto (MrAssettoapp)
- NVIDIA (GeForce Experience and Shadowplay)
- Adobe (Photoshop, Premiere and After Effects)
My configuration files can be downloaded from Google Drive and Sourceforge.
To donate you can send Bitcoins to:
bc1q35fe5et2xj93h47x6n83063kztff4vgp49ggxa

Thanks for your attention and interest in this topic.
Greets Kai Schtrom
Version 1.1 June 9, 2024